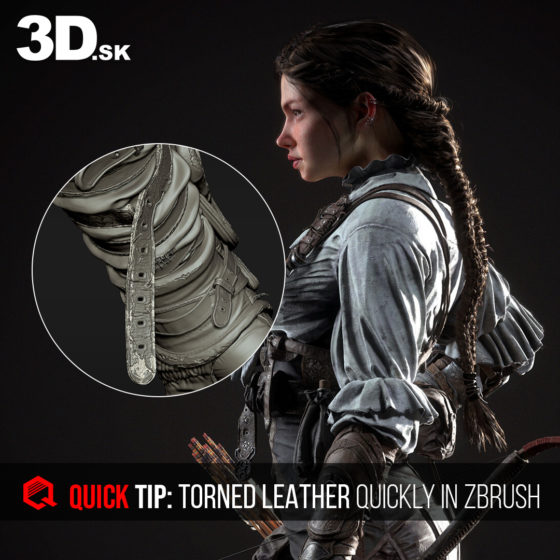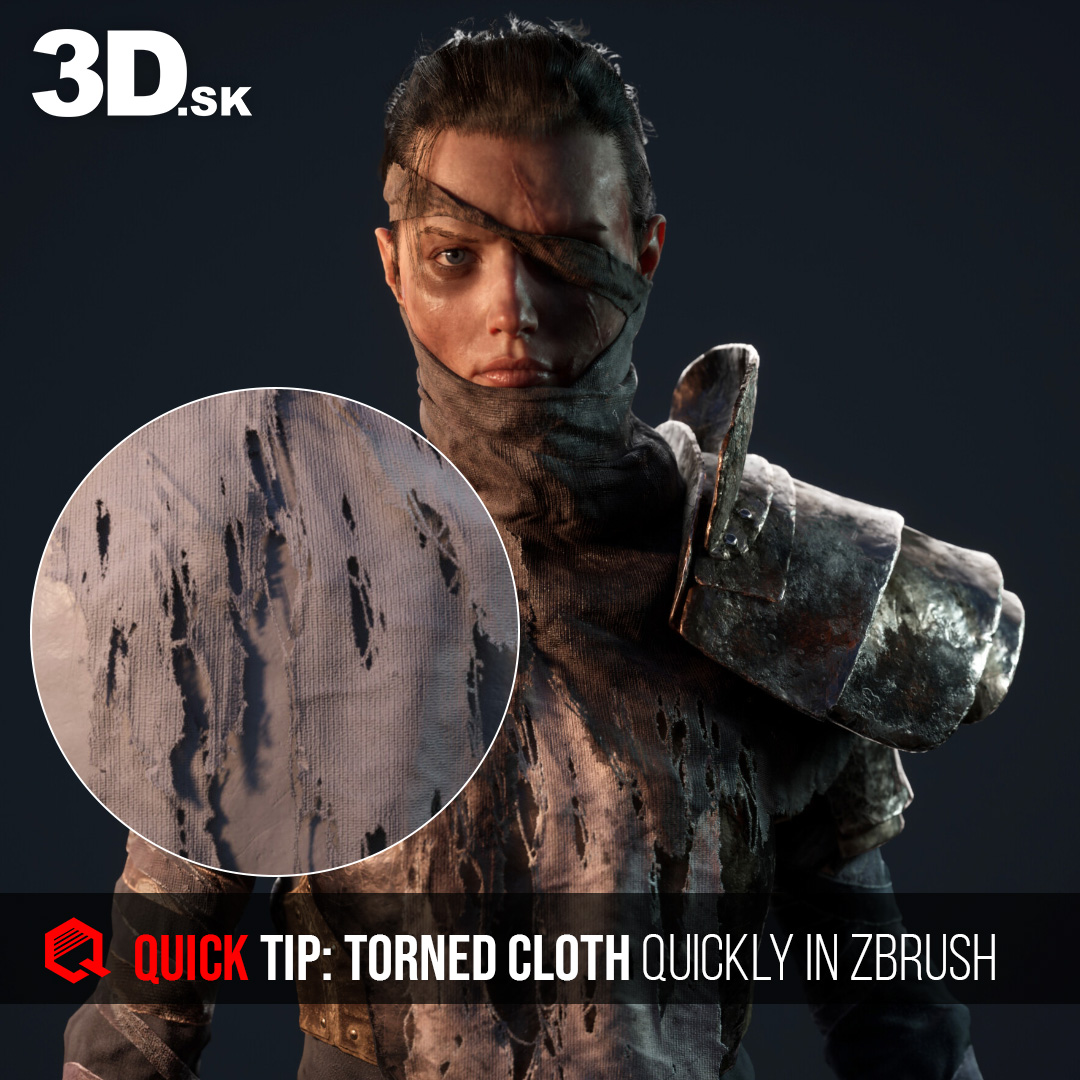
Expressing torned Leather quickly and easily in a Zbrush
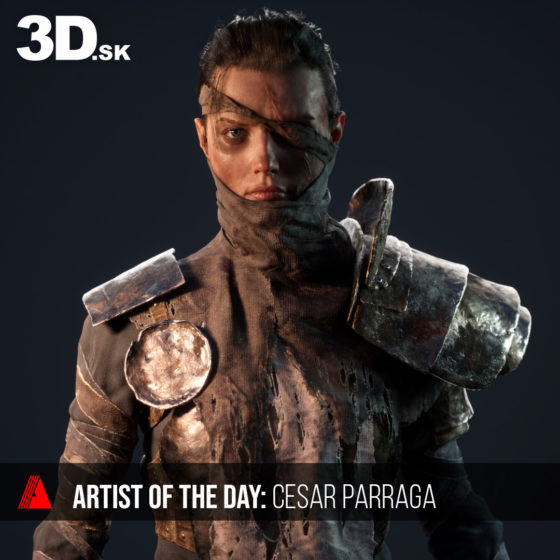
Explore the art of crafting detailed torn cloth textures in ZBrush with César Párraga. This detailed guide walks you through each step to create lifelike cloth effects, boosting the complexity and quality of your model textures. Ideal for artists looking to add refined surface details to their work quickly and effectively. We’re grateful to César Párraga for offering this invaluable Quick Tip.
Perfect the art of creating torn cloth in ZBrush and discover advanced techniques to take your artistic skills to the next level.
— mirec from 3d.sk
1. Create a Base Plane
Start with a one-sided base plane. Add subtle brush strokes to establish an initial orientation for the design.
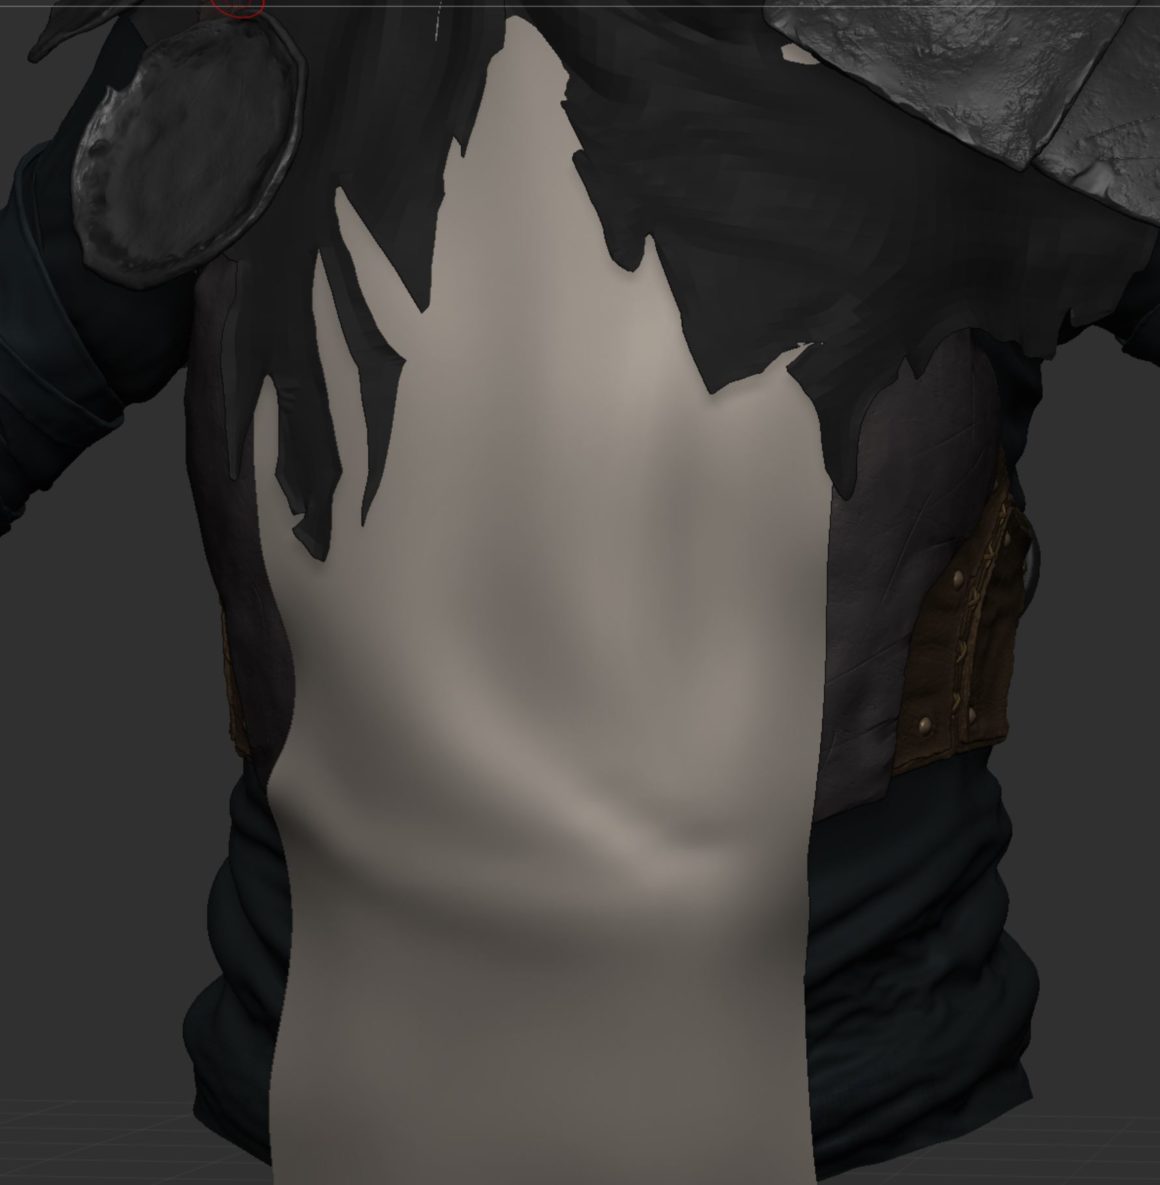
2. Making holes in the cloth
Draw a mask with the desired hole shape in the tabard, convert the masked areas into a polygroup, and delete them. This will create clean cutouts in the design.
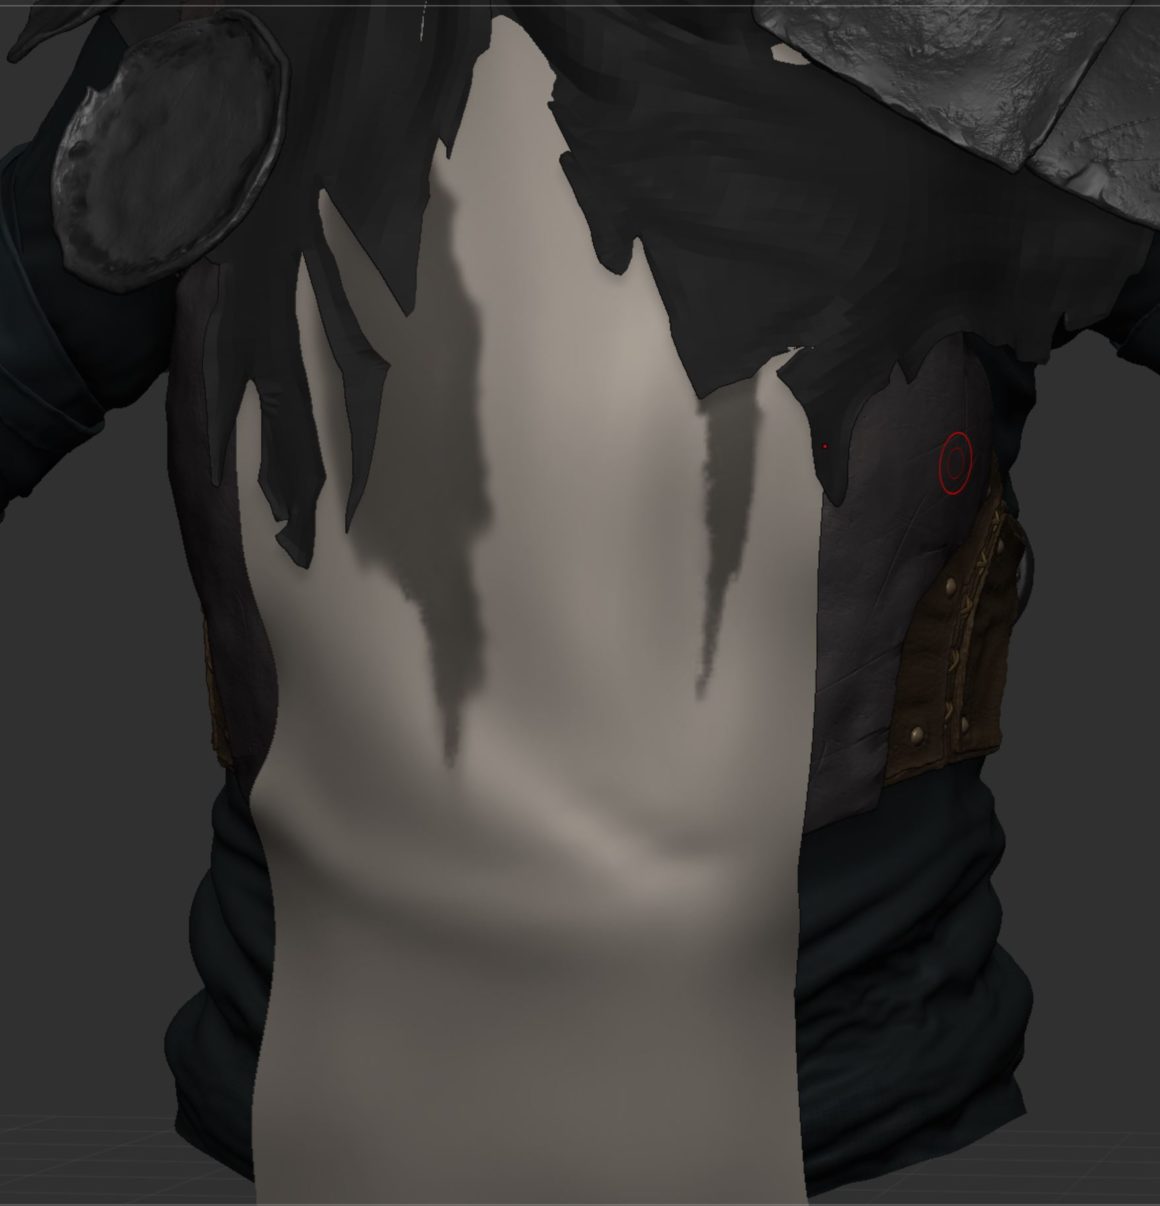
3. Generate a Base Cloth Surface
Use ZRemesher to simplify the topology. Then, apply the Cloth Move brush at the first subdivision level to create some basic wrinkles, forming a foundation for the tabard.
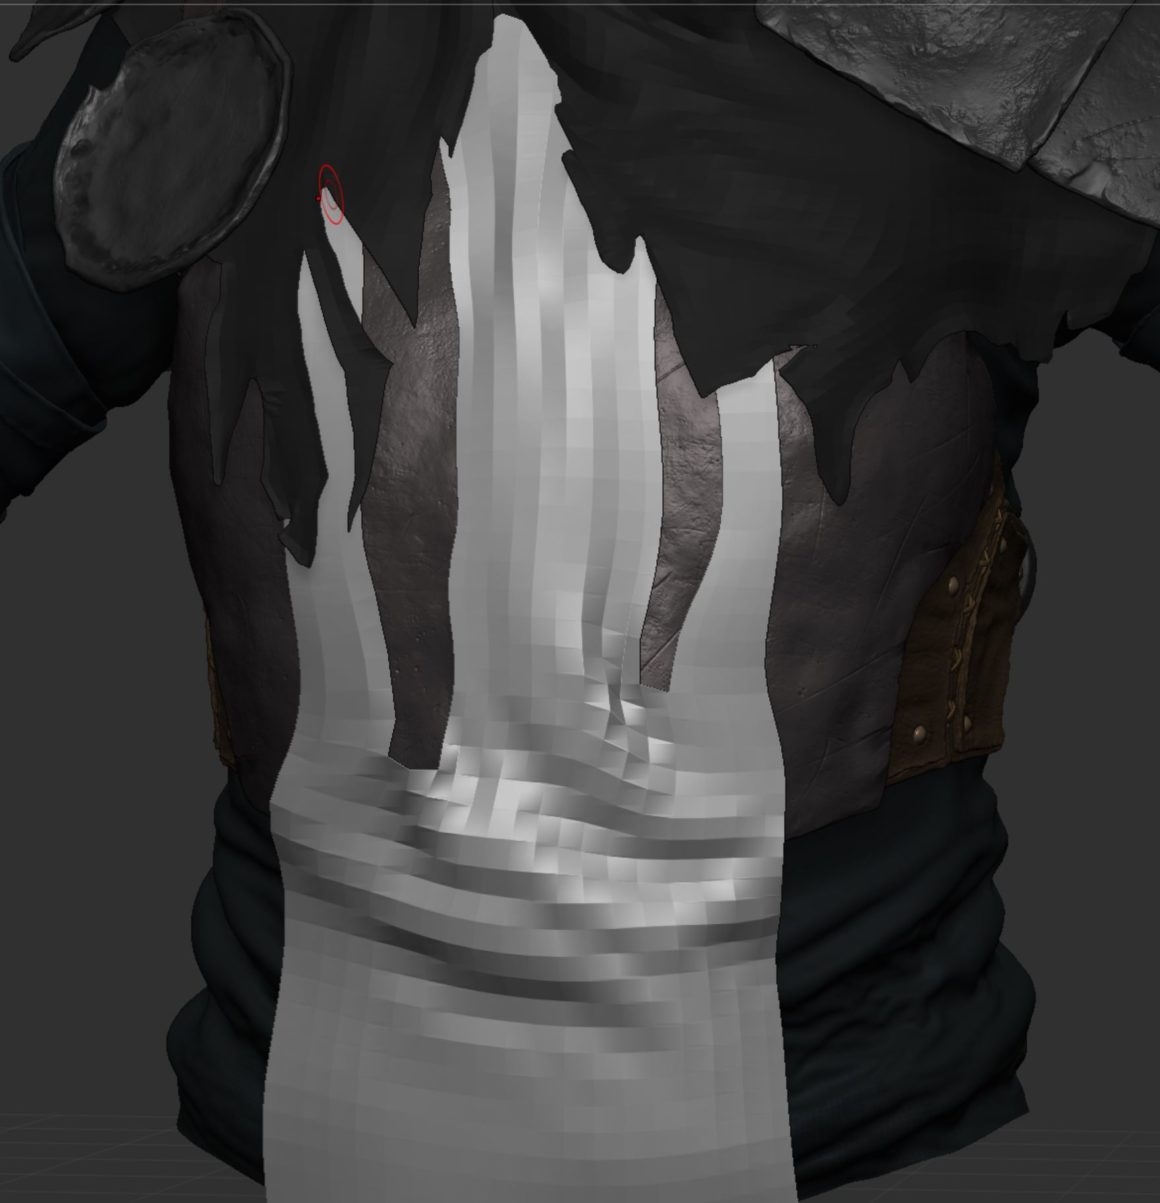
4. Refine the Silhouette
Add subdivisions and sculpt the surface to refine the overall silhouette, ensuring that the shape looks natural and well-formed.
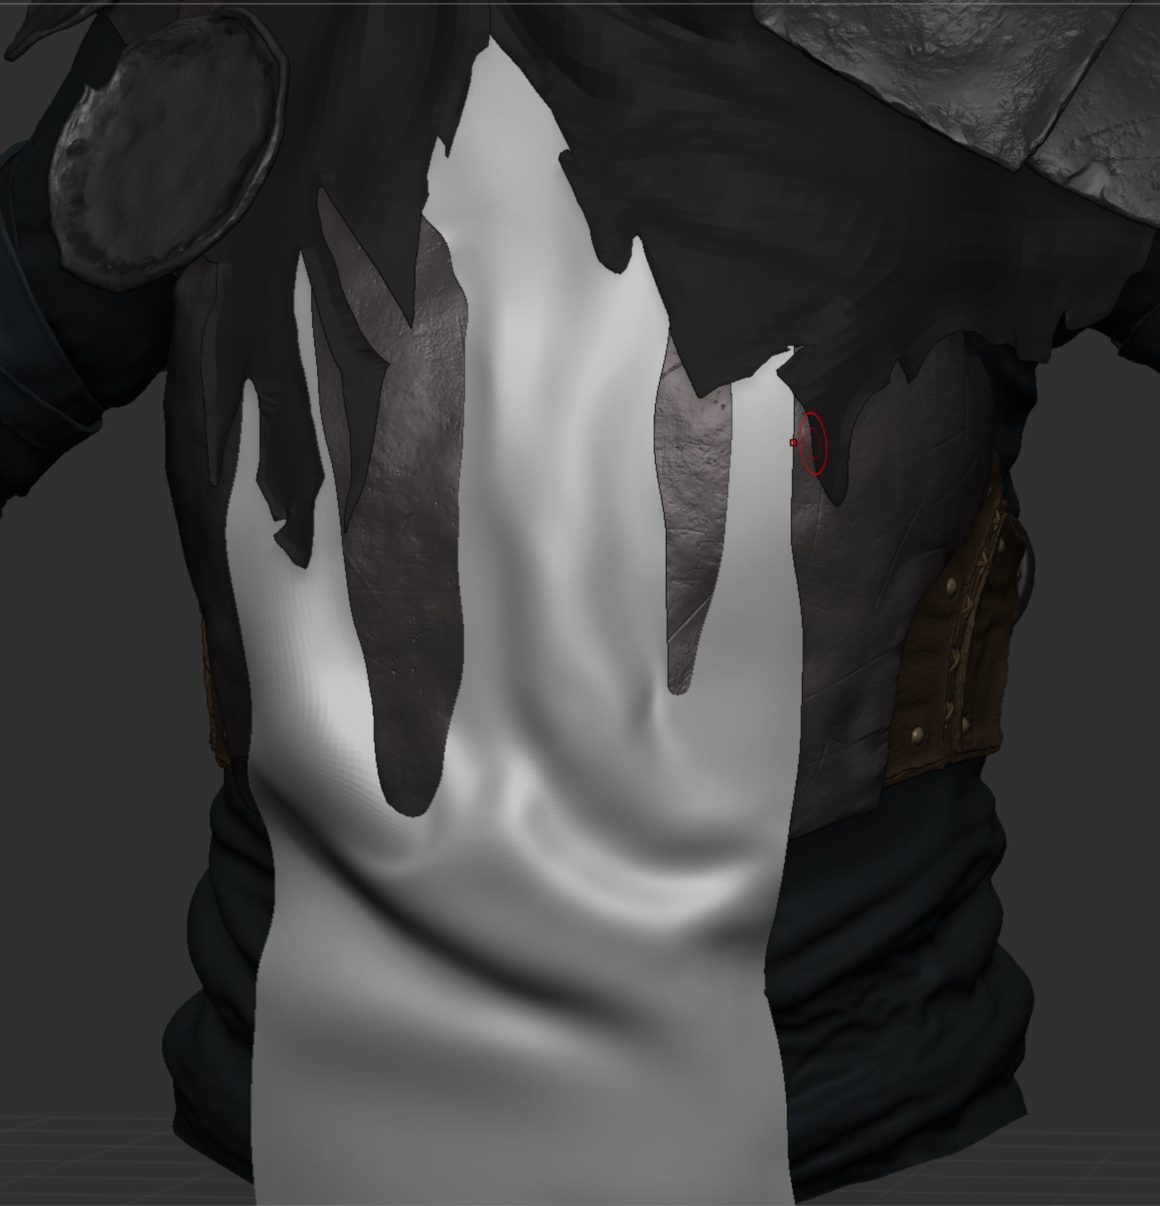
5. Detail Secondary Shapes
Focus on enhancing the borders of the tabard and refining the inner edges of the cutout holes. Sculpt finer details, such as wear and tear, to add a sense of realism. Including subtle damage to the cloth can significantly enhance its believability.
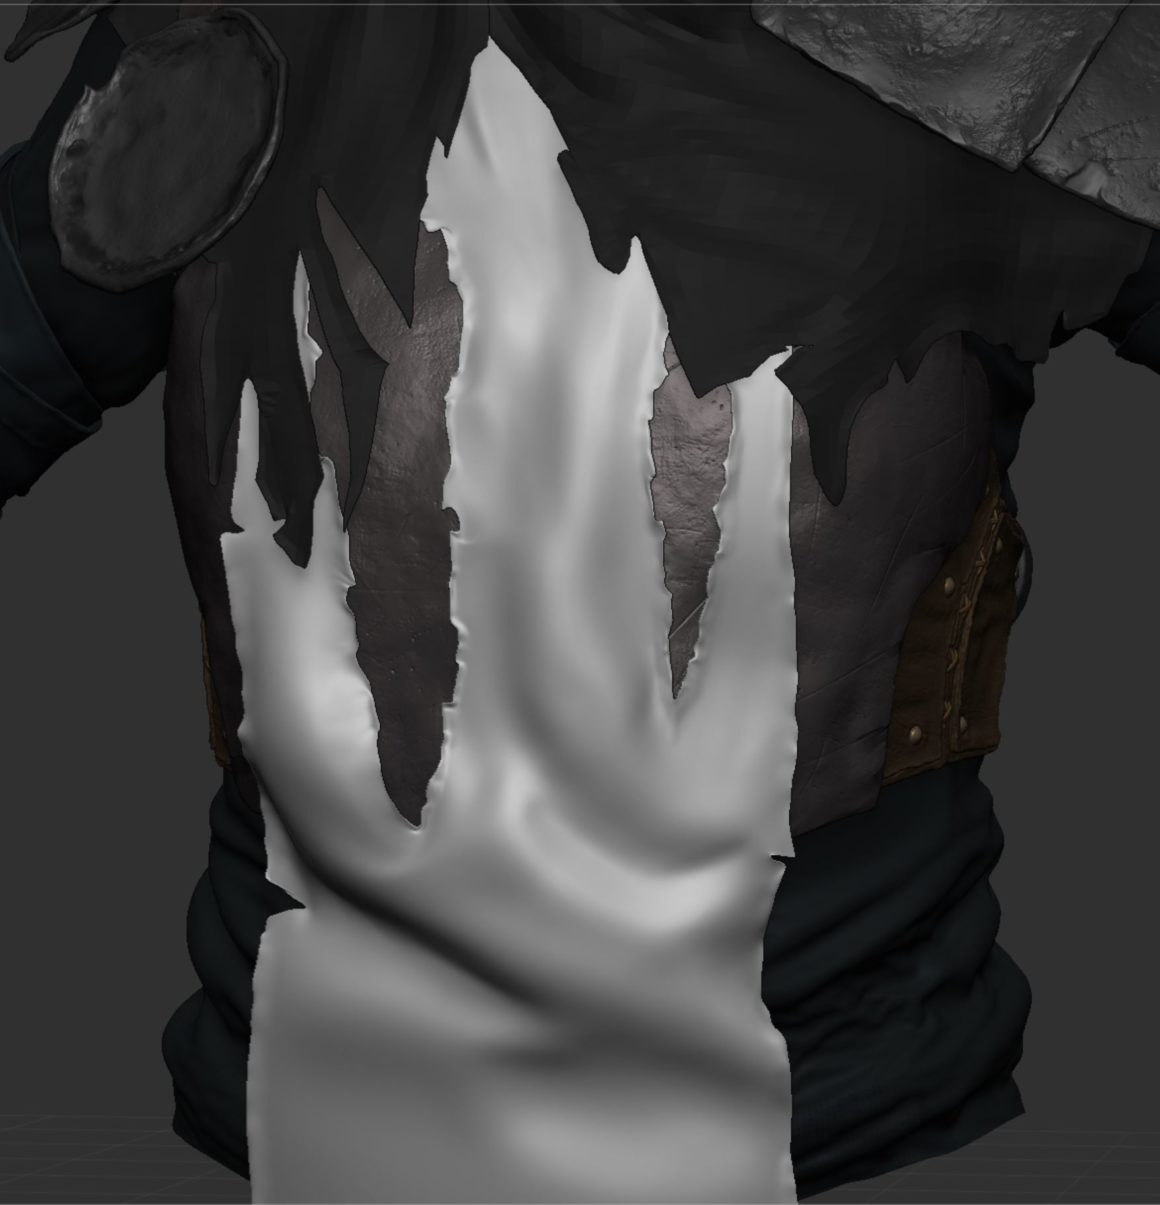
6. Finalize with Texturing
Once satisfied with the shapes and details, create a clean topology for baking and move on to texturing. Keep in mind that the final topology needs to go across the holes, so we can take advantage of alpha channel in textures.

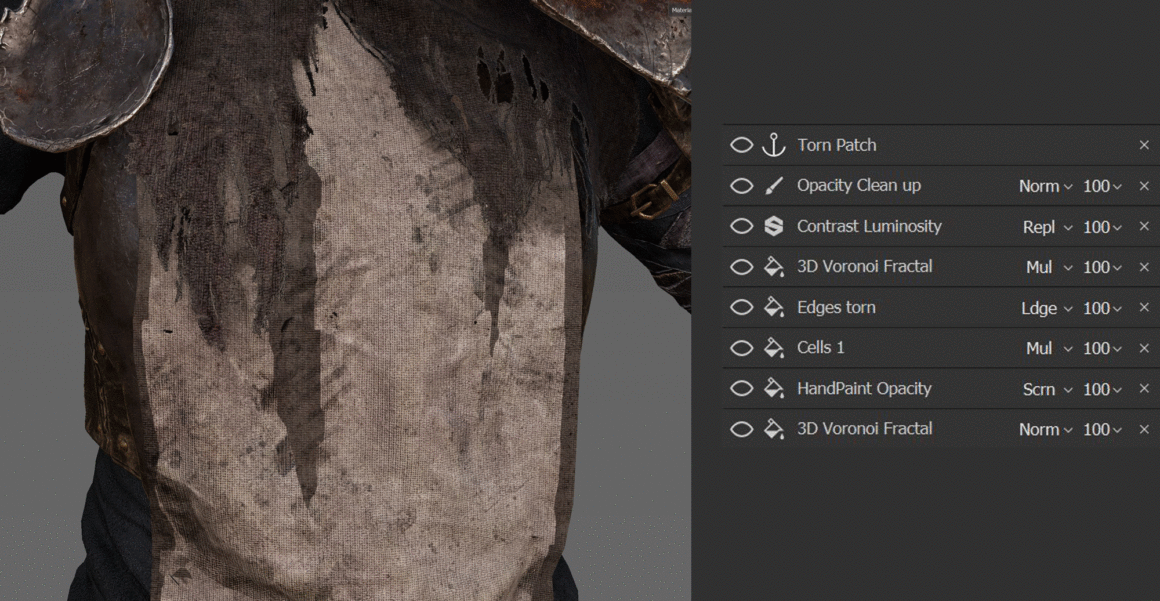
Explore all our Quick Tip blogs.
Join our community & Get inspired by TOP artists:
Most popular Groom references


Read more about groom references or visit our website:
GET INSPIRED WITH TOP ARTISTS


