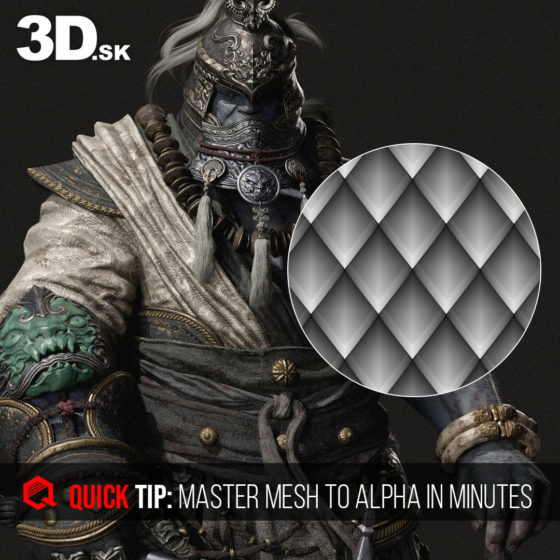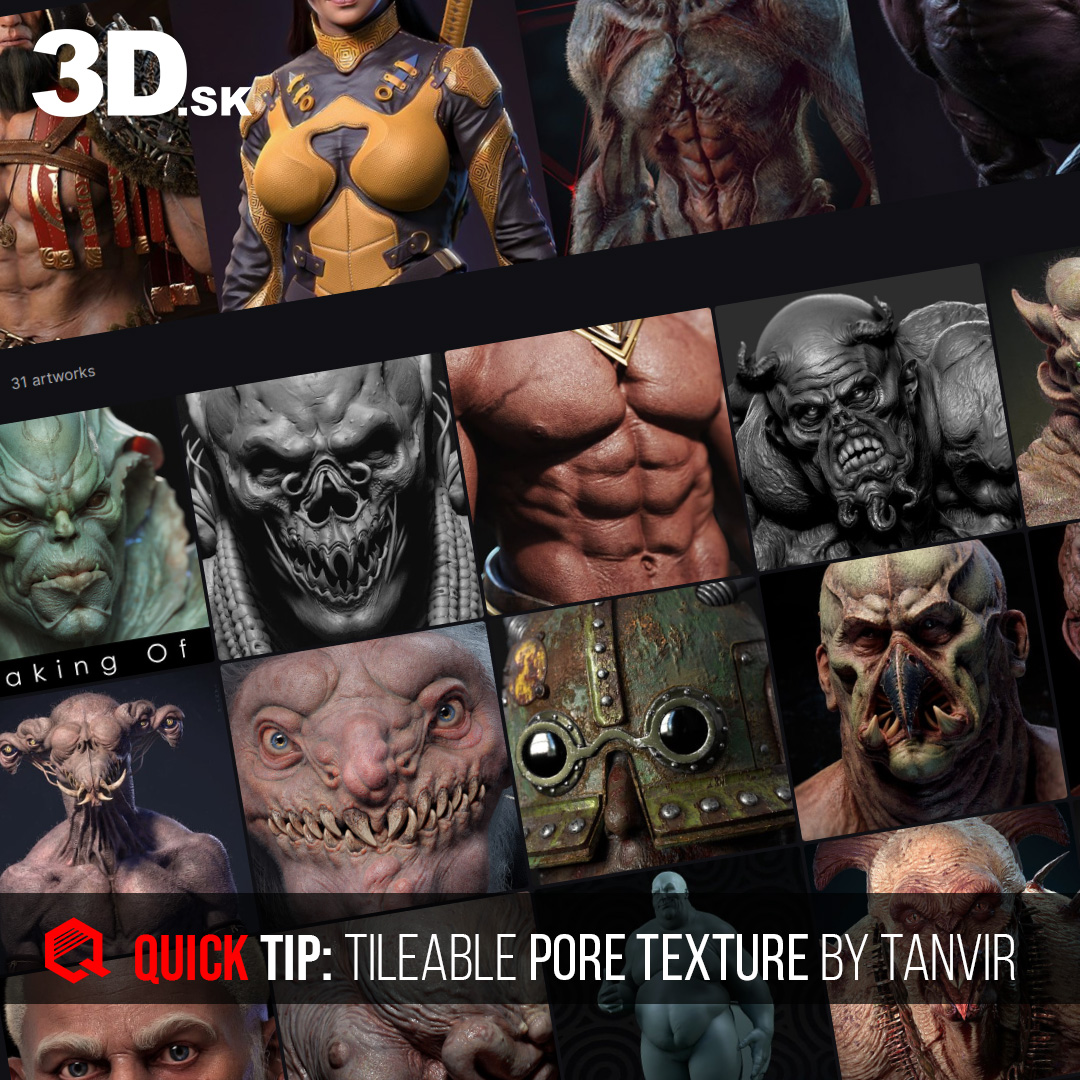
Unlock the secrets of realistic skin textures with Tanvir
Discover how Tanvir masterfully creates skin pores using Maxon Zbrush. Don’t forget to appreciate his impressive work by liking and following his ArtStation profile. A huge thanks to Tanvir for sharing this Quick Tip with us.
Unlock the secrets of realistic skin textures with Tanvir’s Zbrush tutorial—your guide to mastering the art of pore creation!
— Mirec from 3d.sk
Making a Tileable Pore Alpha in ZBrush
In this tutorial, I’ll guide you through my process for creating tileable Pore Alpha maps in ZBrush. While there are several methods available, I find this particular technique especially effective. Thank you for joining me!
Here’s a breakdown of the steps we’ll cover:
Stay tuned as we dive into each step, ensuring you gain a solid understanding of the workflow to create high-quality, repeatable textures for your 3D projects.
- 0:00 – Setting up the tileable plane
- 1:09 – Finding the area to work on
- 2:03 – Setting up the document size for optimal results
- 4:13 – Adjusting the brush settings for detailed sculpting
- 5:29 – Checking the tiling in Photoshop to ensure seamless edges
- 7:28 – Sculpting the pore details
- 11:44 – Exporting the Pore Alpha map from ZBrush
- 11:56 – Final check for the Pore Alpha tiling in Photoshop to confirm the tileability
BONUS: Making Of J.O.D.I
Alongside a detailed tutorial on skin and pores, we’re thrilled to also share a bonus ‘Making Of’ video of J.O.D.I., Tanvir’s latest creature creation! He has expertly condensed the entire creative process into a brief video, showcasing his skills with ZBrush, Substance Painter, and Marmoset Toolbag to bring this unique concept to life.
Here’s a concise overview of the timecodes for the tutorial, detailing each step in the workflow:
- 0:00 – Intro
- 0:06 – Sculpting Progress: Concept Sculpt
- 4:17 – Sculpting Progress: Skin Detailing
- 6:43 – Retopology Progress: PolyGrouping for ZRemesher
- 7:33 – UV Mapping Progress: UV Seams Based on PolyGroup
- 7:49 – UV Mapping Progress: Final UV Layout in Blender
- 8:16 – Detail Transfer Progress: Projecting Detail onto Retopoed Mesh with UV
- 8:37 – Texturing Progress: PolyPaint in ZBrush
- 10:33 – Texturing Progress: Baking and Painting in Substance Painter
- 10:42 – Texturing Progress: Painting Metallic Detail in Painter
- 10:58 – Lighting Progress: 3-point Lighting in Marmoset Toolbag
- 11:23 – Final Renders
Explore all our Quick Tip blogs.
Join our community & Get inspired by TOP artists:
Most popular Groom references
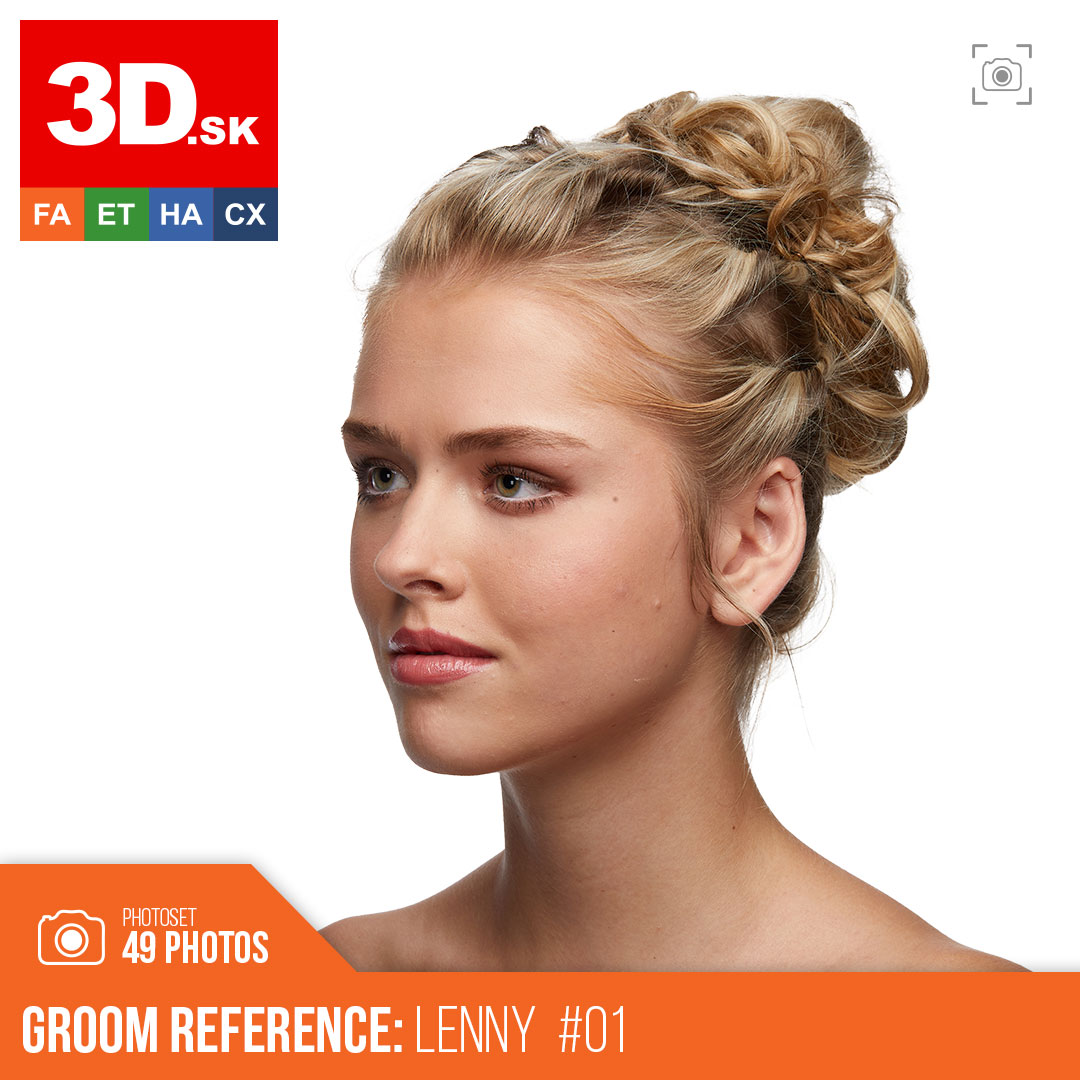


Read more about groom references or visit our website:
GET INSPIRED WITH TOP ARTISTS


