Are you struggling with retopology in order to animate your 3D character? Thanks to this remarkable method, you will avoid unnecessary complications and save a lot of time!
Retopology has become an essential technique in the field of 3D modeling and animation, enabling artists and designers to work with efficient and manageable models. It allows for smoother animation, better deformation, improved texturing, and more efficient rendering.
Over time, various software tools and plugins have been developed to automate and streamline the retopology process, making it more accessible and efficient for artists and designers.
Art Director, Innovator, and Tutor with over 15 years of experience in the 3D industry Ahmad Merheb provided insights into various retopology techniques for 80.lv. He thoroughly examined the potential challenges that artists might encounter during the retopology process and shared effective strategies to conquer those obstacles. Furthermore, Merheb introduced a unique personal technique he developed called Reverse Topology.
What Is Retopology
Retopology is a technique used in computer graphics and 3D modeling to create clean and optimized geometry for an existing 3D model. This technique emerged as a response to the need for efficient and optimized 3D models, particularly in the field of computer animation and gaming. In the early days of computer graphics, 3D models were often created with high-resolution and detailed geometry. However, such models were computationally expensive and difficult to work with in terms of rendering and animation.

To address these challenges, retopology was developed as a process for creating a new, simplified mesh topology over an existing high-resolution model. This simplified mesh, known as a retopologized model, preserves the overall shape and proportions of the original model while optimizing the geometry for better performance and efficiency.
The process of retopology involves manually or automatically creating a new topology by placing vertices, edges, and faces over the existing model. The goal is to create an optimized mesh that maintains the desired silhouette and surface details while reducing the polygon count and improving the overall flow of the geometry.
Manual Retopology
Manual Retopology, a technique widely employed in the mobile games industry, involves the meticulous creation of topology by placing vertices, edges, and polygons individually onto a high-resolution mesh. This method is particularly suitable for animated objects that necessitate well-defined and clean topology, facilitating smooth mesh deformation.
“In the mobile games industry, Manual Retopology is extensively used because we are bound by a strict TRC (Technical Requirement Checklist) received from our tech team, which we as the art team must adhere to,” says Ahmad Merheb. The TRC, often specifies maximum polygon counts, texture sizes, and occasionally, specific loop requirements.
Several commonly utilized tools for Manual Retopology include Topogun, 3D Coat, and Blender.
Automatic Retopology
According to Ahmad, this method may appear to be faster and easier. Automated Retopology simplifies the process of creating mesh topology by offering one-click solutions or adjustable sliders before generating the topology. “However, it cannot work in every situation. While it may work for some props or small objects, it’s usually unsuitable for most organic meshes that will be animated,” he claimed.
One notable tool for Automated Retopology is ZRemesher in ZBrush, widely popular for its ability to deliver quick results and facilitate testing. Some outsourcers even utilize it for organic meshes. “However, I don’t recommend relying on this tool since the work required afterward to fix and remove spiral loops is more involved than manual retopology,” says Ahmad.
“There is also an addon for Blender called QuadRemesher, which can provide decent results (better than ZRemesher) by defining the target poly count and clicking a button,” he added.
Introducing the Reversed Retopology
After years of performing manual retopology and designing hundreds of characters, Ahmad began to notice a recurring pattern during the retopology process. He found himself facing constant challenges in areas containing Ngons or Stars.
“Once I completed the retopology process and compared it with a previous mesh design, I noticed something very interesting. The Ngons and Stars were always in the same location in every mesh. This wasn’t something I intentionally planned; I just followed the same routine during each retopology process,” he says.
This concept ignited a thought in his mind. What if we skip the guesswork and retopologize differently, starting from a reverse perspective? So he decided to start by placing the Ngons and Stars right from the beginning.
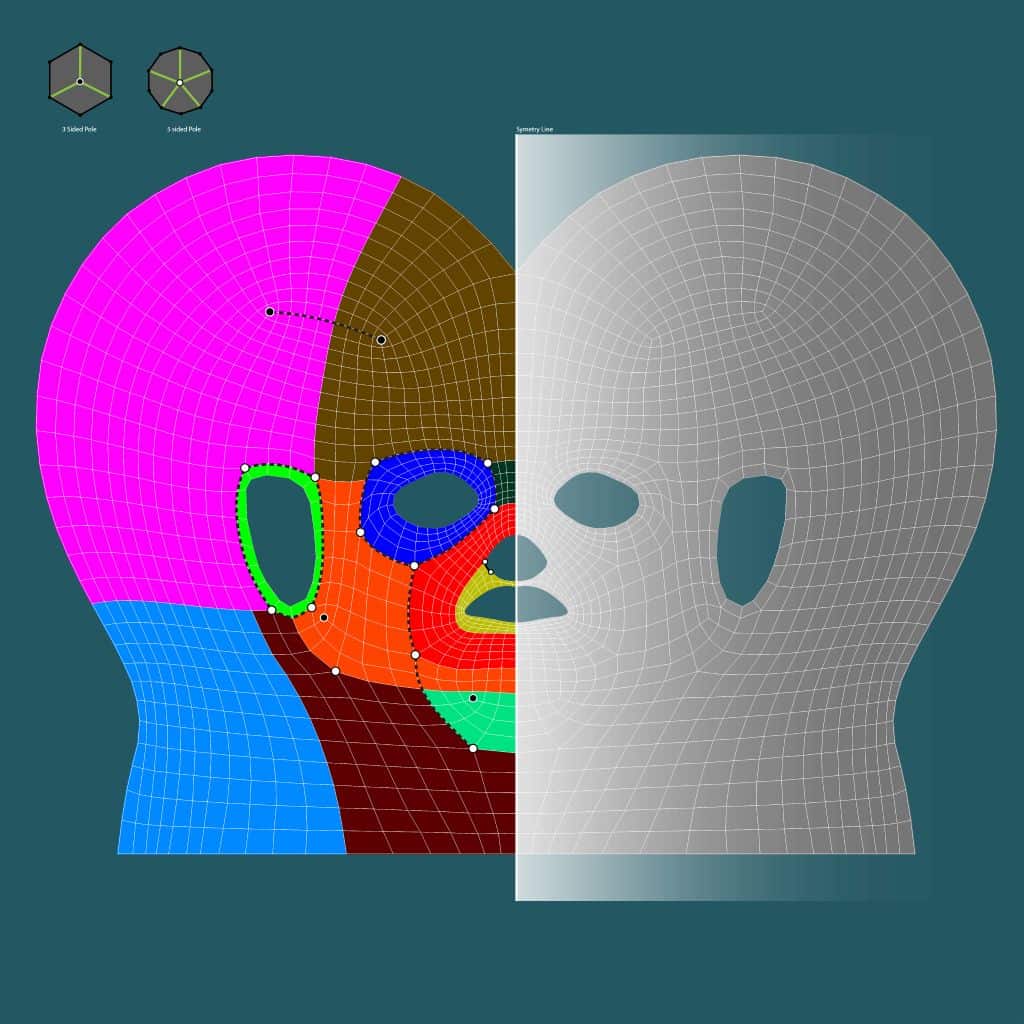
“If you place the Ngons and Stars right from the start what you have to do next is just fill in the loops, and there will be no more guesswork and no more fighting,” he advises. “Then, in order to place those Ngons and Stars in the right location each time, I have created a map that I open each time I do a character’s head,” he says.
Ahmad also demonstrated the advantages of his technique in a video. Don’t forget to check it out.
According to Ahmad’s words, this method reduces the amount of time spent by 40 percent. He is working also on maps for the body, hands, and feet as well. If you are interested, keep an eye on his blog.
SOURCE: 80.lv | ahmadmerheb.com
Join our community & Get inspired by TOP artists:
Most popular RAW HEAD 3D SCANS

BSHARA HENRY
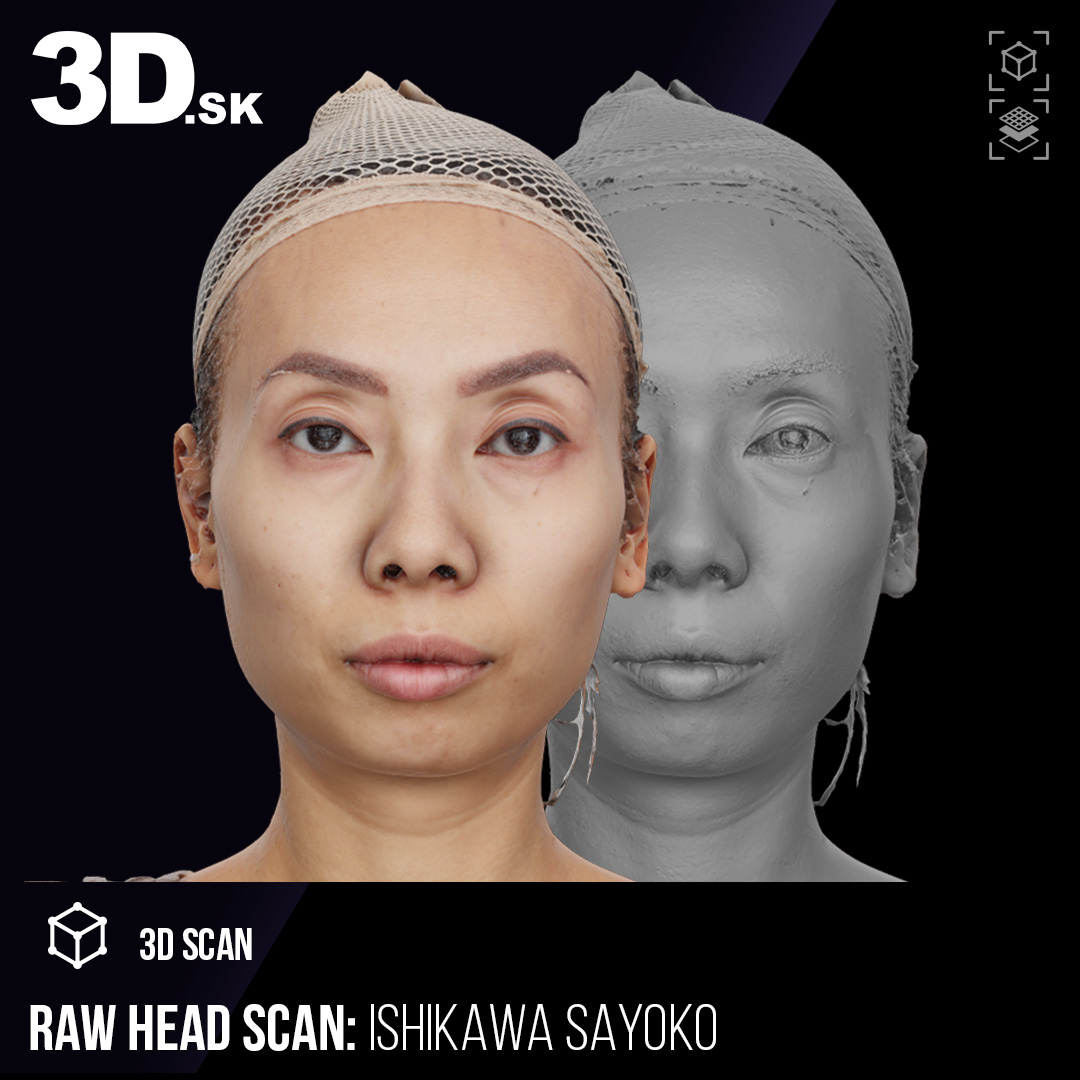
ISHIKAWA SAYOKO

DIMETRICE MOSS

QWANTEZ DANIEL

KAGA SUMI

ISLA COLE
Join our community & Get inspired by TOP artists:
Most popular RAW A-POSE 3D SCANS
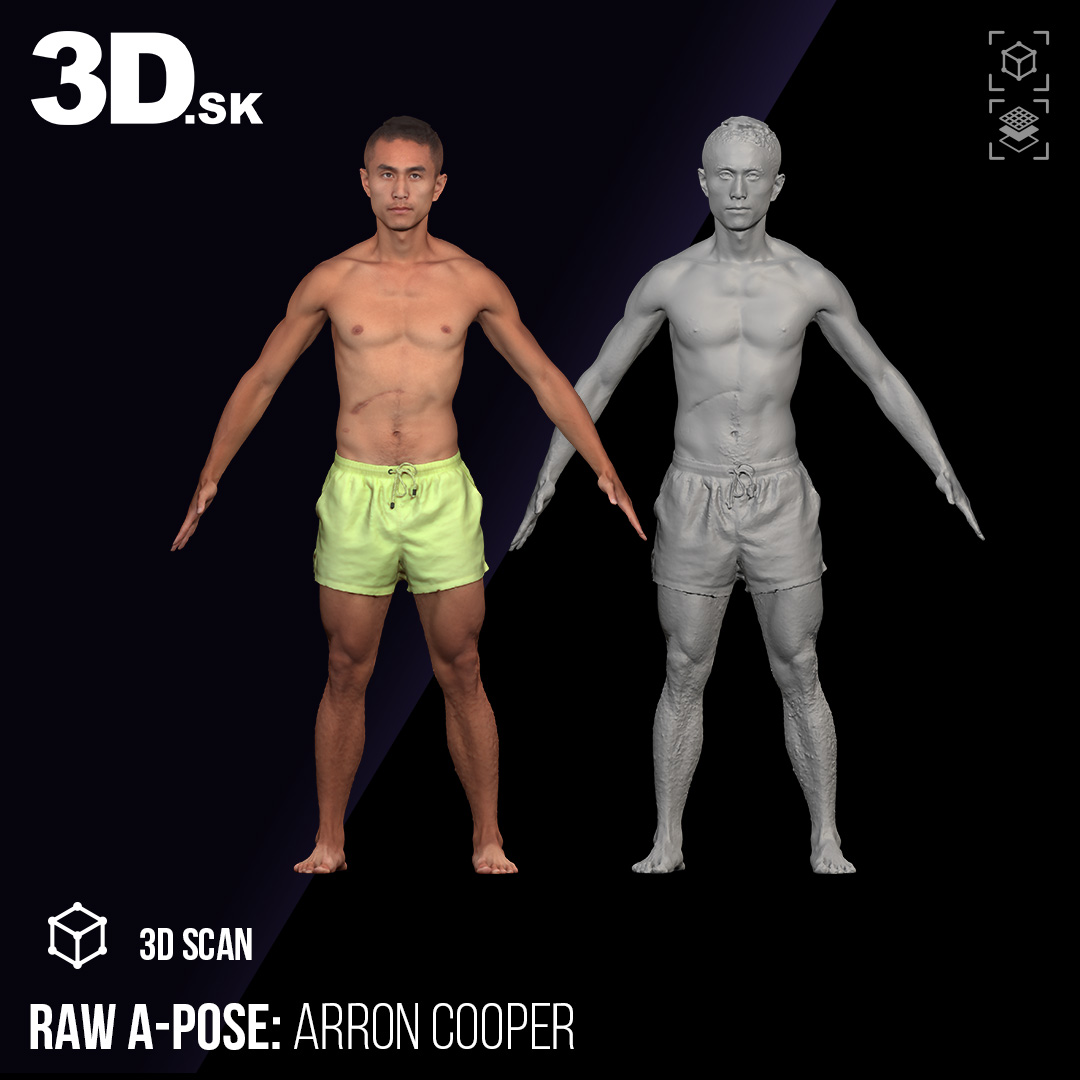

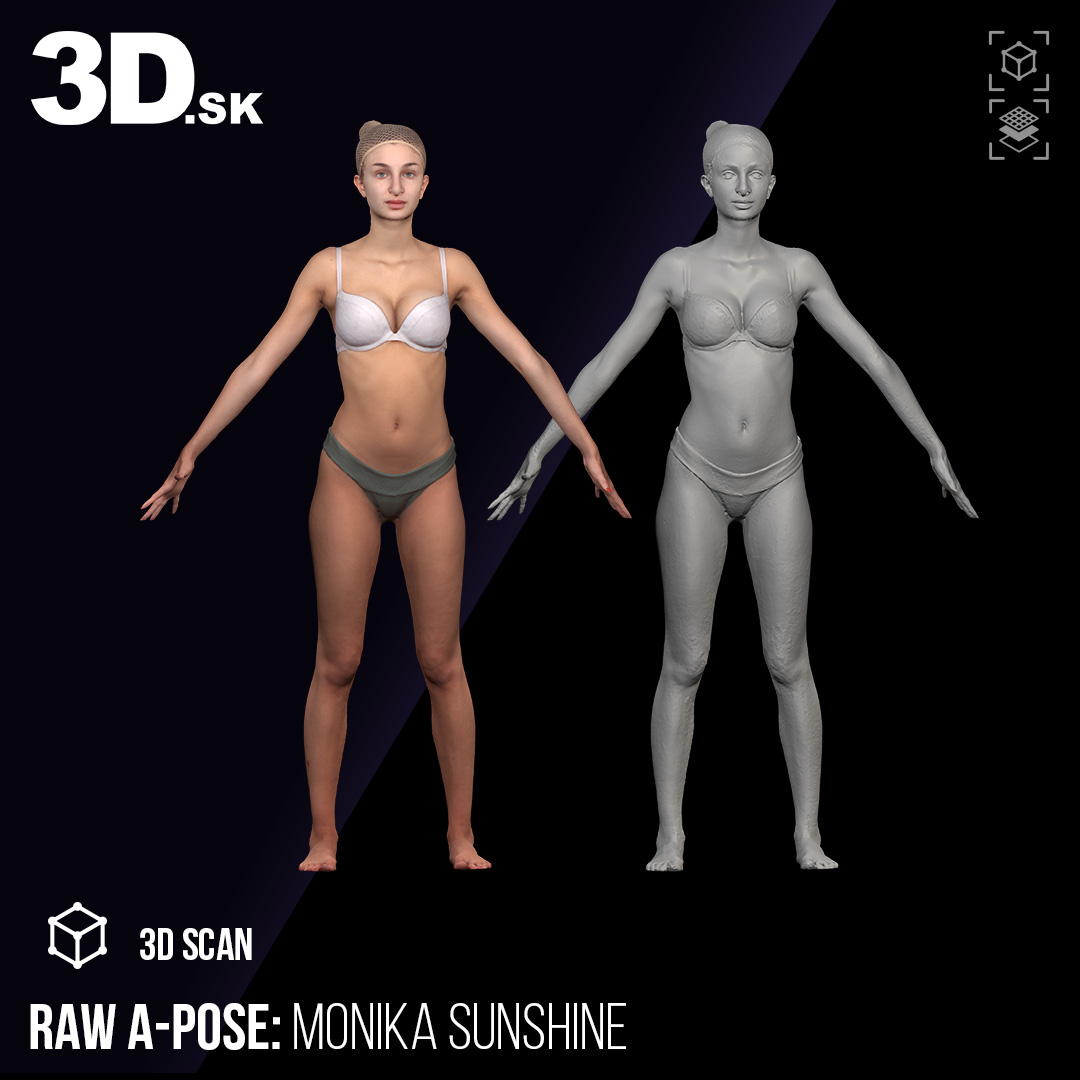


See more on our website:
Explore Tutorials category


