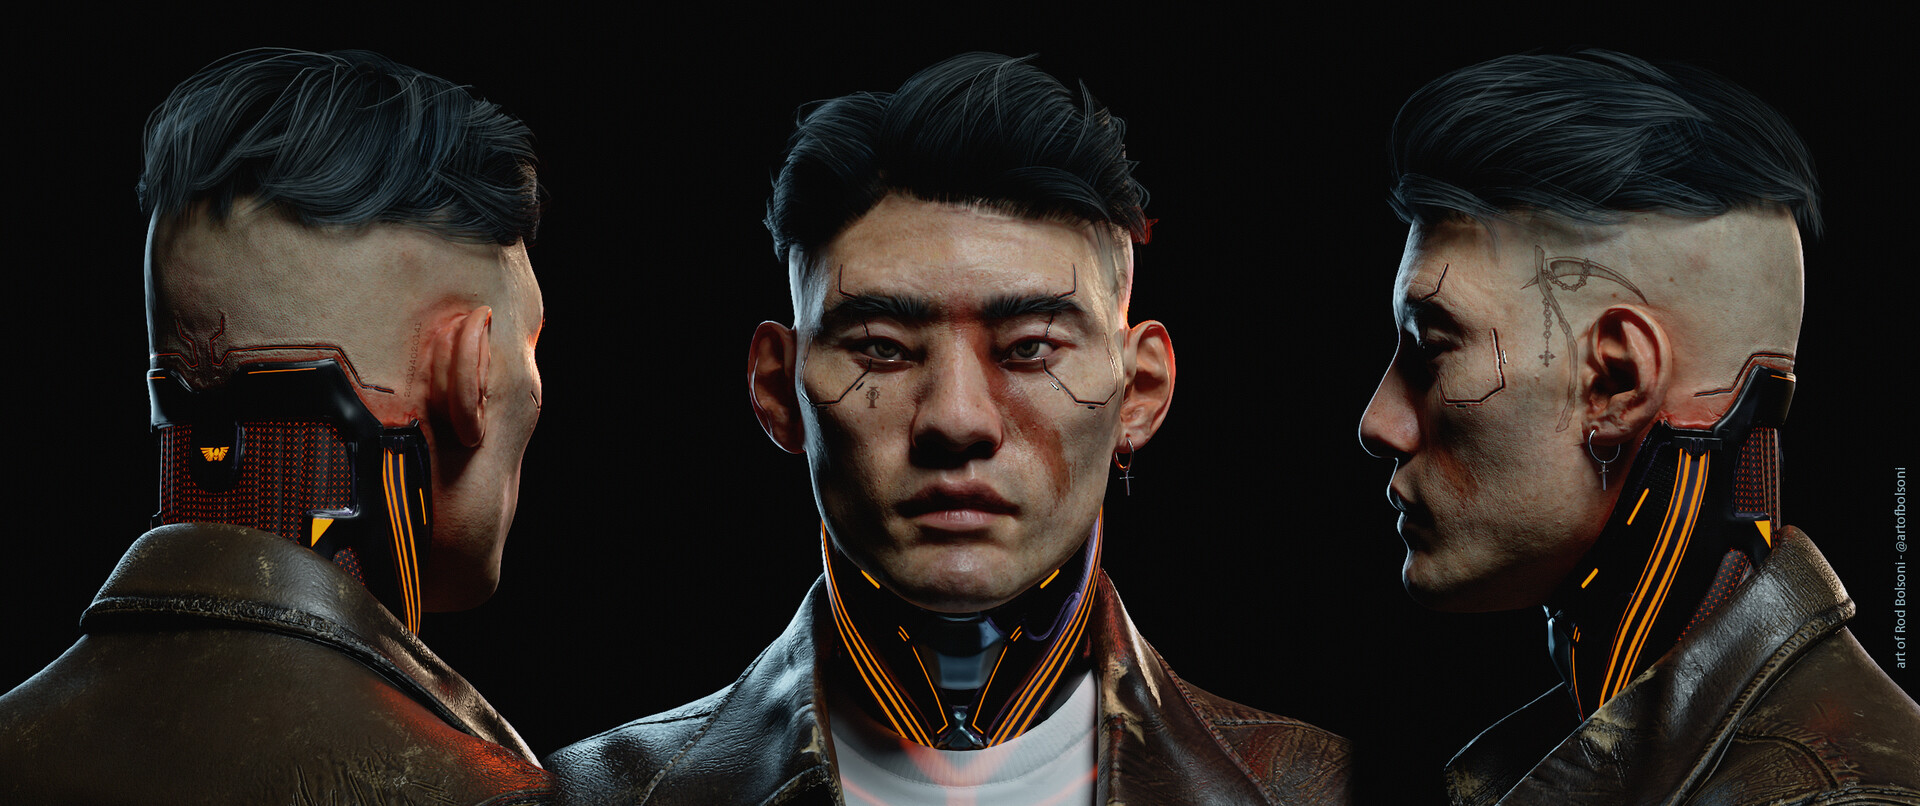
Character artist Rodrigo Bolsoni created a stunning piece of art with Cyberpunk vibes which impressed us so much that we recently included him in our selection Artist of the day, now he shared a character breakdown.
To create Yomato, Rodrigo used 5 Software: Maya, Zbrush, Substance 3D Painter, Fibershop, and Marmoset Toolbag. First of all, he organized references into 4 categories: head, design, jacket, and hair.
Blocking
He started creating the head with primary forms, which he improved until he was satisfied with them. “Check all facial landmarks is a must,” he says. With Dynamesh and very low resolution, he sculpted and only added more density.
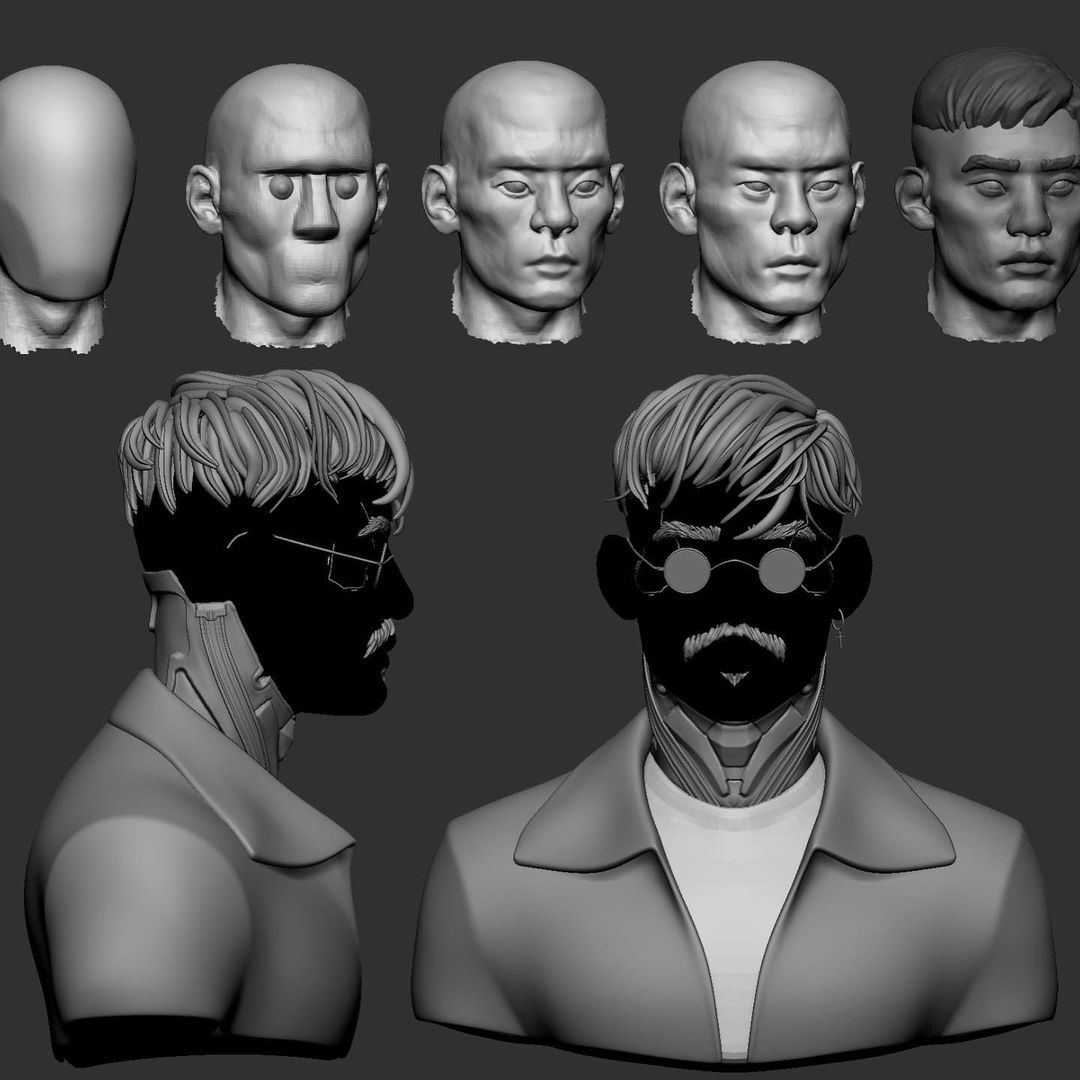
For the jacket, shirt and glasses, he made a block inside Maya and exported it to Zbrush. For the neck, Dynamesh and Zremesher helped him to find the correct design that was clean and simple, yet believable. For the hair, he used an extracted mesh with Dynamesh for the starter look and then used a CurveTube brush to create depth to the design.
Retopology and UVs
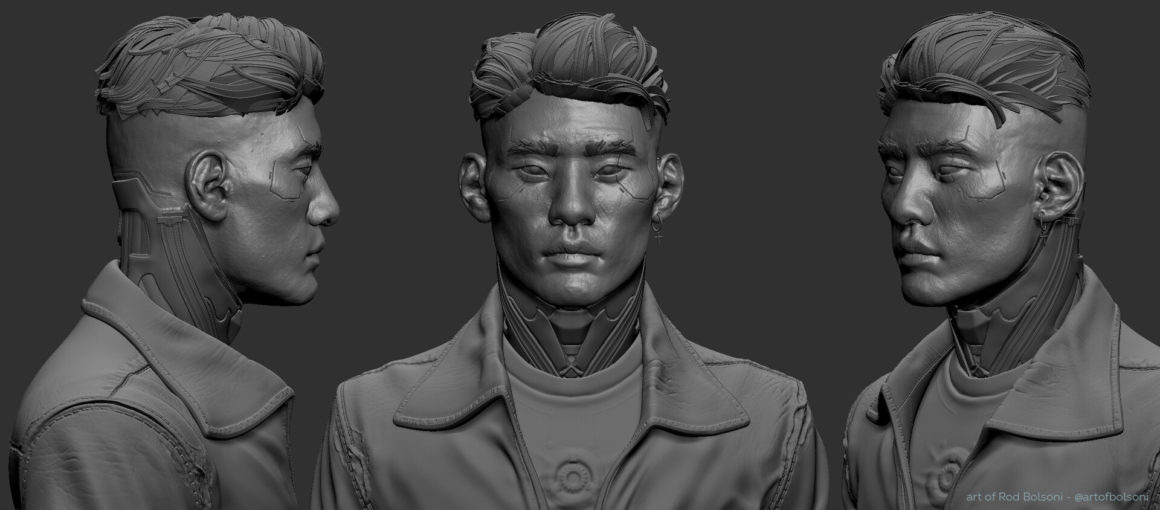
Subsequently, he worked on the retopology of assets and UVs. Then he started detailing the mesh. For the head, he used the 3D head scan to project details over the mesh. Thanks to Displacement map in the mesh that was projected over his Dynamesh, he achieved a model like sculpted but with scan details. After this Rodrigo projected a lower-resolution mesh that he did earlier in Maya, over his high poly model.
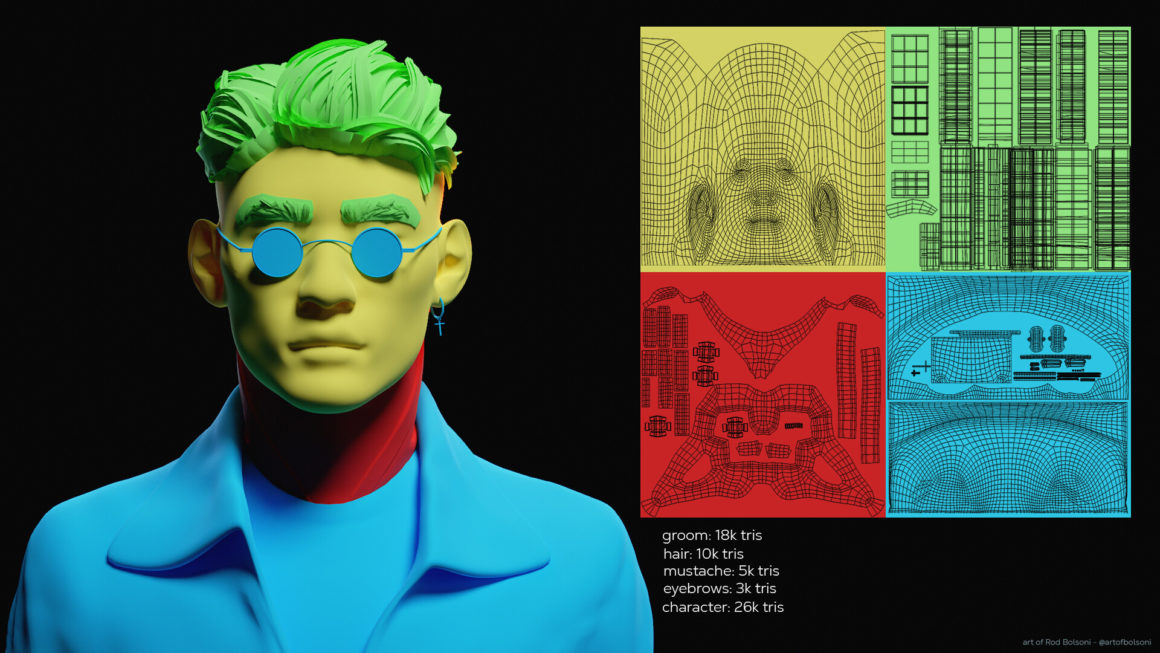
The clothes, neck, and accessories have a more straightforward process of adding subdivisions and sculpting details. With all details done, he organized both high poly and low poly files and applied the bake by mesh name, and created IDs for high poly mesh. All baking process was done in Substance 3D Painter.
Texturing
His process of texturing requires going back and forth with rendering, to check what’s really happening between the viewport of both software. He used 3D Scan Store as a base map and for the high poly details. He tweaks over and adds hand painting, and other features like skin patches, redness, tweaked color zones, red marks, tattoos, bumps, scars, etc. Roughness, Specular, SSS, and Normal maps he creates through baking maps. The same process he applied to the jacket, shirt, and accessories. Rodrigo uses smart materials and tweaks them using masks, generators, and other tools.
Hair
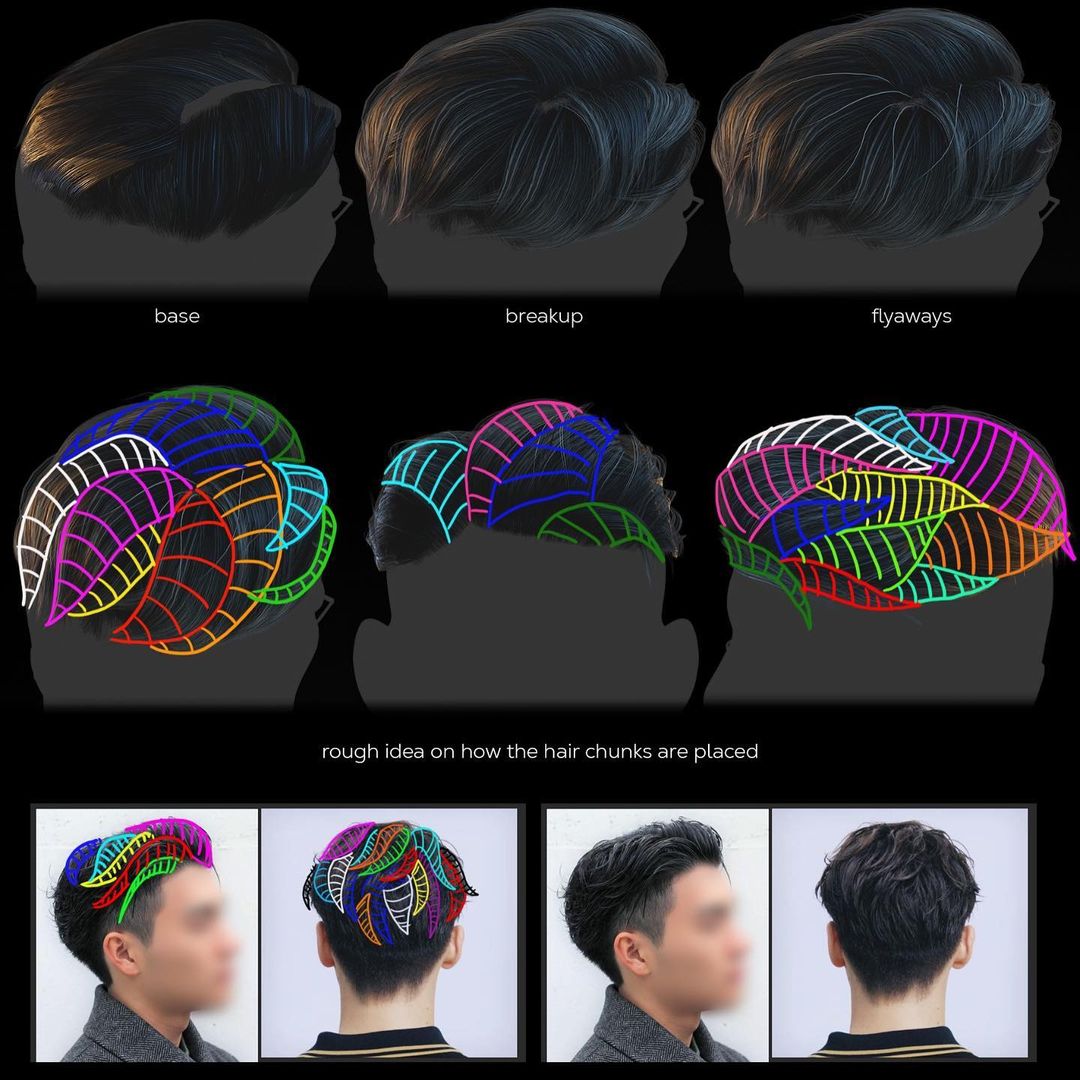
Rodrigo admits that there is no guaranteed guide to creating hair. In his case, there is many trial and errors. At first, he created texture inside Fibershop. Then he exported albedo map and imported it into Maya. He creates a base layer with thick flat hair cards, just to fulfill the bottom of the cards and hide the head. “It is important to mention leaving the hair cards side by side without crashing each other too much and they should follow the flow of the hair,” he added.
Rendering
For the rendering engine, Rodrigo used Marmoset Toolbag with Ray Tracing. In the final stage, he doesn’t use many lights. He wanted to avoid the studio effect and give the impression of a natural environment. Shaders are simple as well.
What he changed in shaders are Specular values through the sliders and emissive values because the map it’s only a mask of where will glow and the material will set how much and the color of the emission. What he really changed and improved were the post-effect settings.
SOURCE: GAMESARTIST.CO.UK

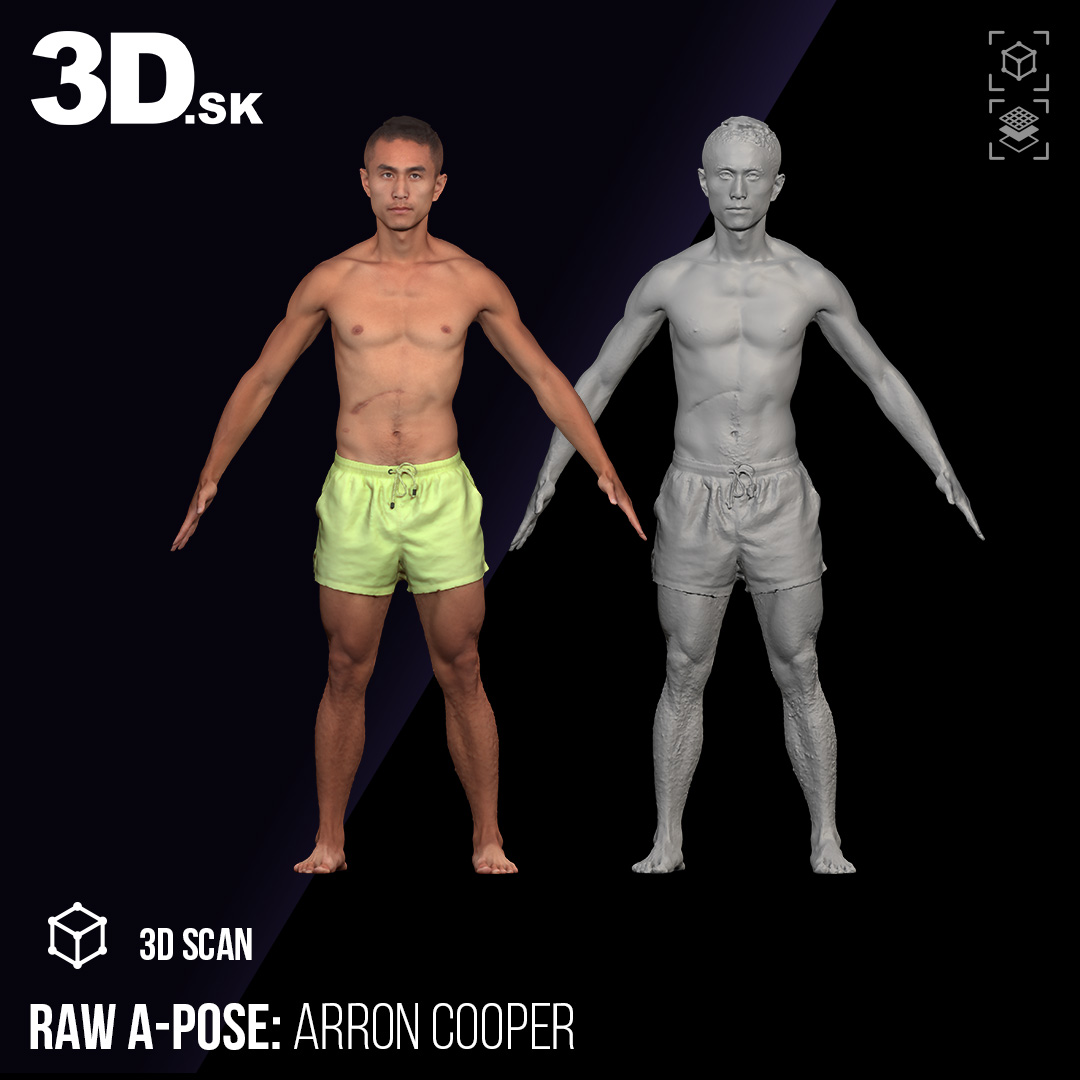
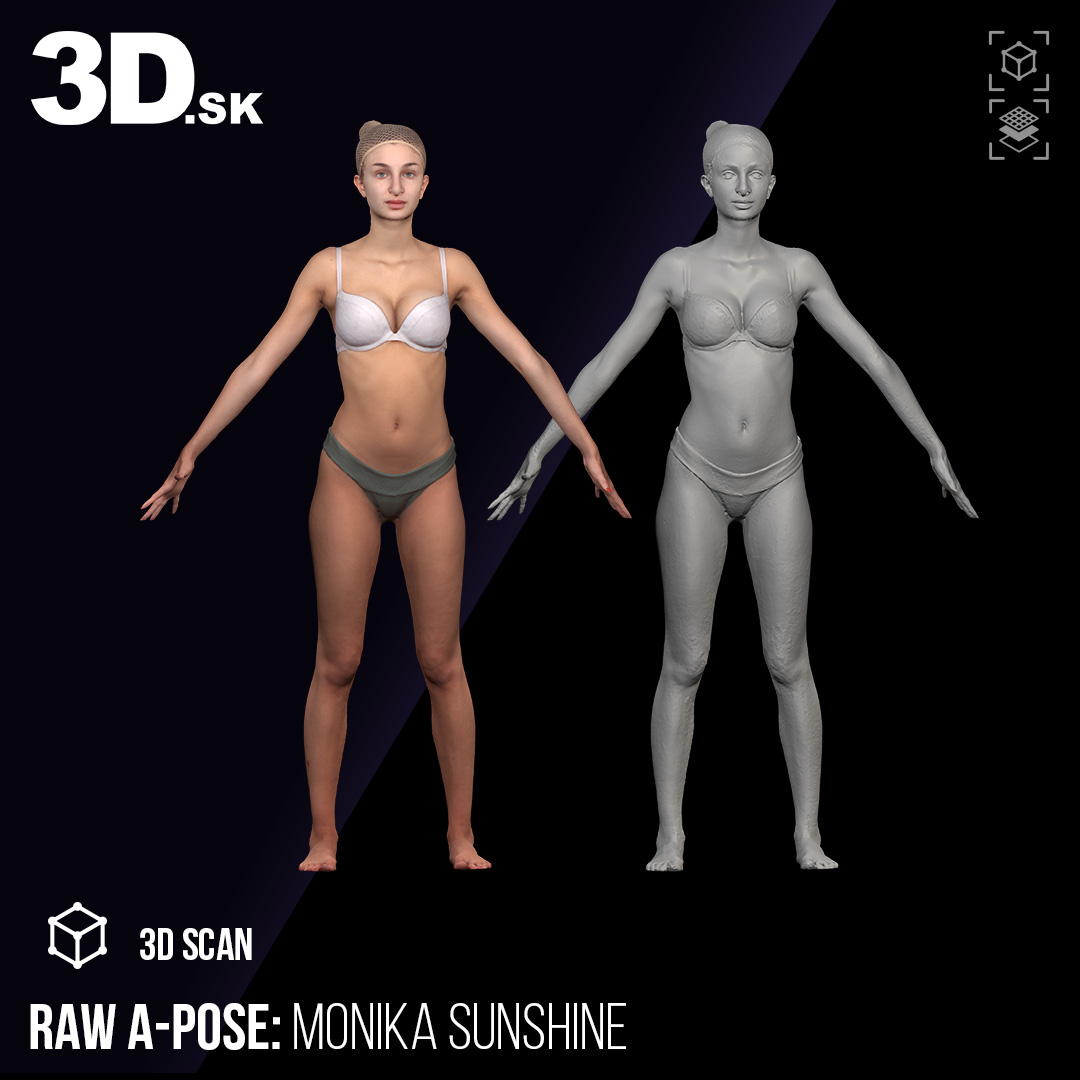
Most popular RAW A-POSE 3D SCANS



See more on our website:

