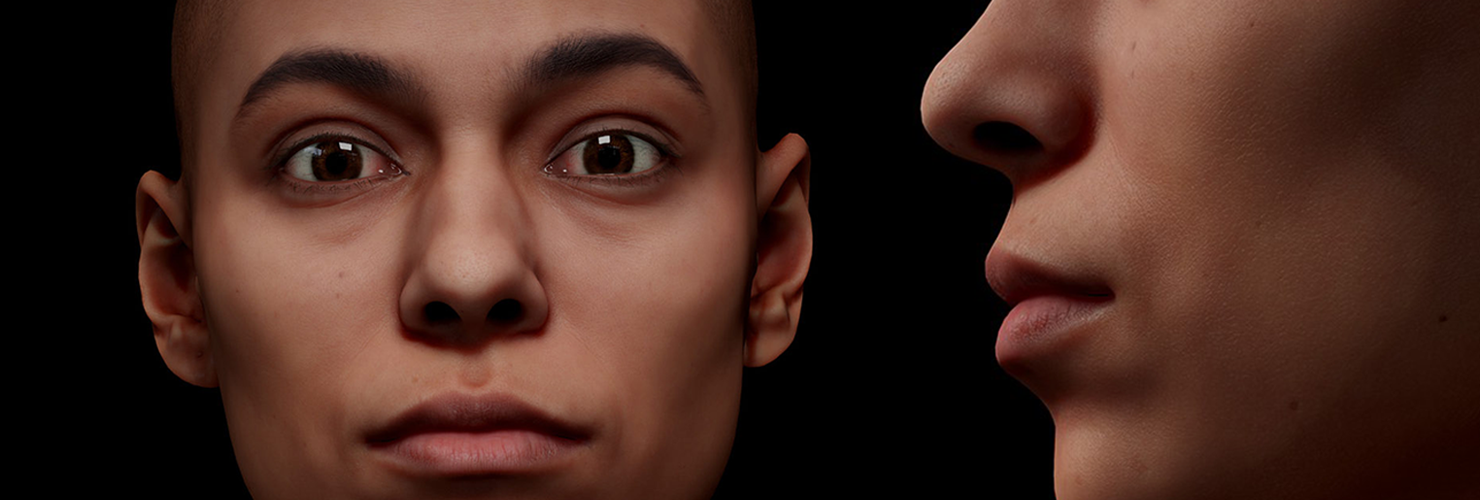
When creating 3D models, especially realistic facial expressions and animations, using blendshapes (also known as morph targets) is essential. These allow artists to smoothly transition between different expressions and phonemes, bringing life and emotion to characters. In this blog post, I will guide you on how to effectively use blendshapes from 3D.sk, a leading platform for 3D assets and references.
Step 1: Choosing the Right Character
To get started, head over to the 3D assets section on 3D.sk. Under the “Raw Morphs Scans” tab, you will find an extensive selection of high-quality morphs, representing different facial expressions and phonemes. These scans serve as the foundation for creating blendshapes, allowing you to pick a character that best suits your project’s needs. Here’s a link to explore the options: 3D Phonemes and Emotions
Note: If the desired characters aren’t available, we can scan individuals in our in-house rig. Here’s a link to our services: 3D.sk Services, or we can recommend the Neutral RAW category, and you can request the specific morphs we have available.
Step 2: Download a Neutral Scan
A crucial part of working with morphs is having a clean, neutral base for your model. If you need a neutral scan, head to this section of 3D.sk: 3D Retopologized Heads. If the character you’re looking for isn’t available, you can browse through over 550 Raw Neutral Head Scans here: Raw Neutral Heads.
Step 3: Applying Morphs to the Neutral Face
Once you’ve chosen your character, open the scans in ZBrush or Blender. These programs are excellent for cleaning up the facial expressions and refining the blendshapes. Here’s how you can do it:
- Refine the Details: Use the sculpting tools in ZBrush or Blender to adjust any imperfections in the scan. Focus on areas around the eyes, mouth, and forehead, as these are crucial for realistic expressions.
- Basic Tips & Tricks: Keep the symmetry intact, and make sure your morph target is compatible with your animation rig. Minor tweaks like smoothing the mesh or enhancing small wrinkles can make a big difference.
When applying your blendshapes to the neutral scan, here are a few things to keep in mind:
- Maintain the Topology: Ensure that the topology of the morph matches the neutral face. This ensures that the blendshapes transition smoothly.
- Avoid Stretching: Be cautious of over-stretching the mesh in areas like the mouth corners or eyes, as this can create unnatural expressions.
- Smooth Transitions: Make sure the transition between the morphs and the neutral face is fluid. This is crucial for achieving realistic facial animations.
So how to actually do it?
1. Create a new layer on your cleaned neutral model
2. Lower down Subdivision to 1st level and import your low poly morph expression.
3. Move to 3rd Subdivision level to project details from the scan.
4. Move to the highest SubD level and adjust any issues or imperfections. If everything is done correctly you will notice that your finer sculpting from the neutral model smoothly transferred to the imported morph expression.
5. Check if everything flows – using the same topology for your neutral face and morph targets ensures smooth transition between blendshapes when adjusting the strength of the layer.
Once you’ve applied the morphs, you should be able to see the final result, which can be rendered in your preferred 3D software for a clay render or other visualization.
Step 5: Using Processed Morphs in Your Projects
Processed blendshapes like these can be utilized across various industries. Here are a few examples of where and how they are used:
- Gaming: Facial animations for realistic character interactions.
- VFX and Movies: Bringing lifelike emotions to digital characters in films.
- Advertising: Crafting digital avatars for promotional materials.
- Digital Influencers: Creating human-like avatars for social media and marketing.
- VR/AR Applications: Enhancing virtual characters in immersive environments.
Additional Resources for 3D Artists
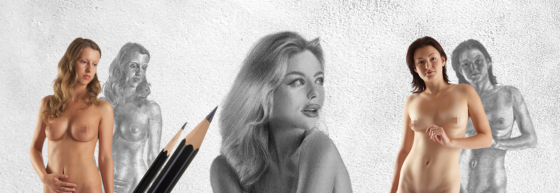
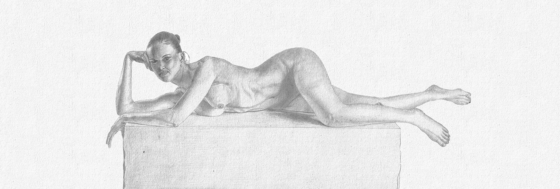
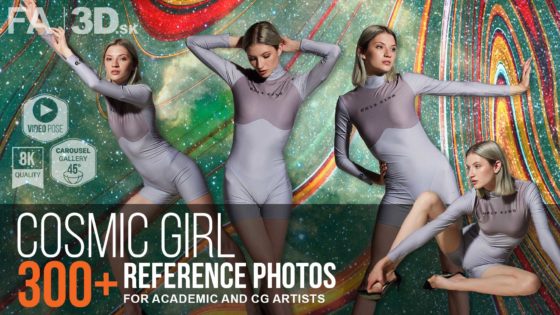
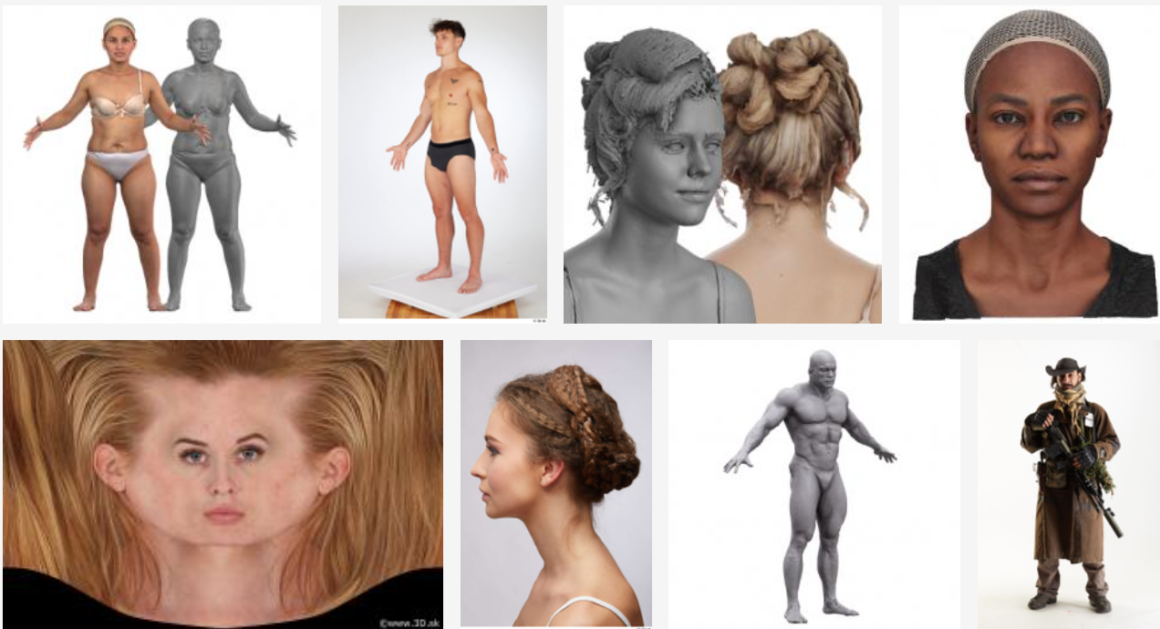
If you need further references for your projects, 3D.sk provides access to a wide range of assets beyond just facial morphs. Check out their All Assets from a Model functionality here: All Available Assets. You’ll find body scans in various poses like the “A” pose for modeling or daily poses for animation references. These are also useful for Archviz projects, where realistic human figures enhance the believability of the scene.
You can explore detailed skin textures, eye, hand, and body part references, and even dynamic movement breakdowns. Premade head textures are also available, allowing you to quickly texture a 3D model’s head with photorealistic accuracy.
Try Before You Buy: Free Samples
If you’re curious about the quality of the scans and anatomical references on 3D.sk, you can download a free sample from our website. These samples include scans from other portals like Female Anatomy for Artist and Photo References for Comic Artists. Here’s the link to explore: Free Sample.
By following this guide, you’ll be well on your way to creating detailed, expressive 3D characters using blendshapes from 3D.sk. Whether you’re working on a game, a film, or a digital avatar, these resources will help you achieve professional results efficiently.
Join our community & Get inspired by TOP artists:
Explore DRAWINGS by Artists of the day


