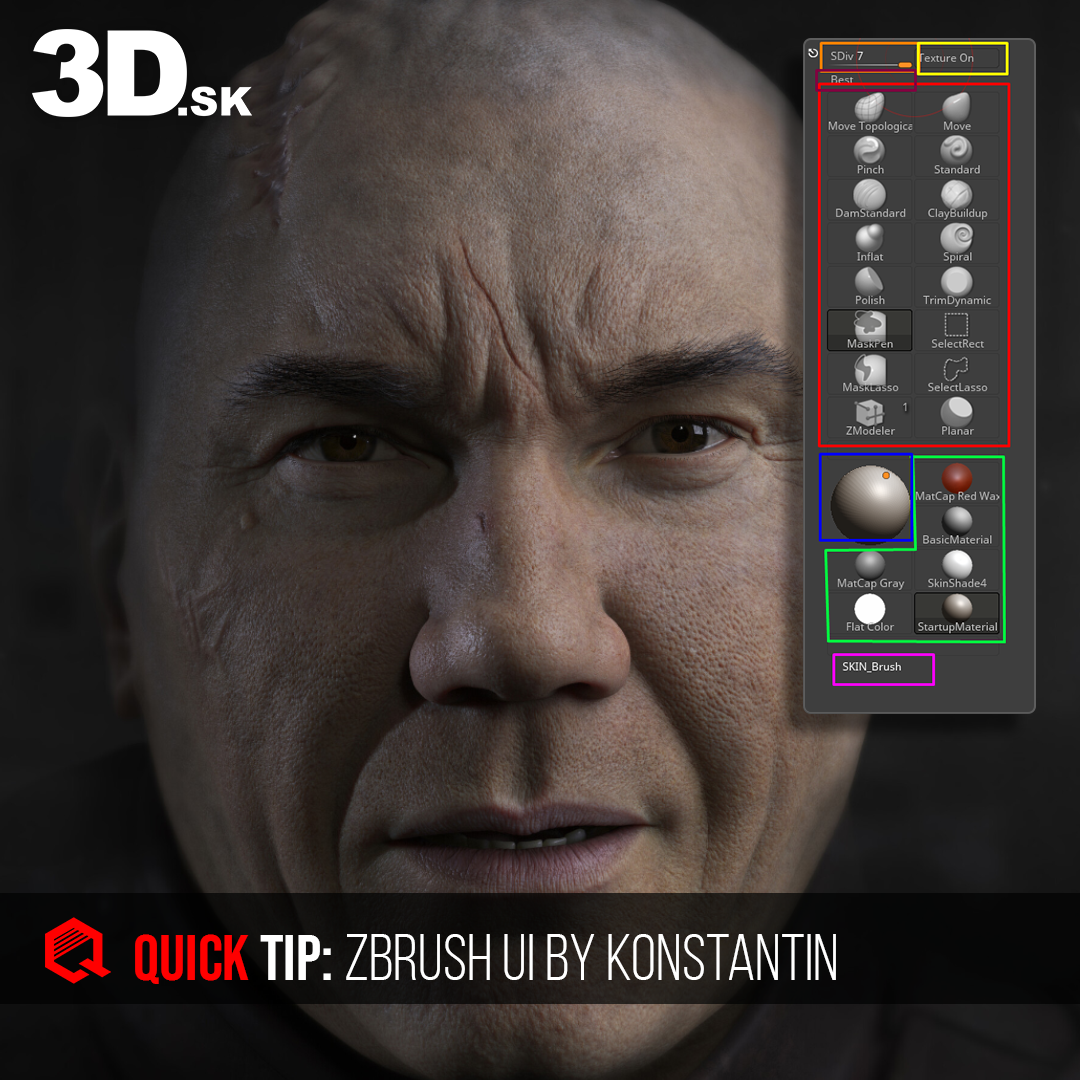
Speed up your sculpting with Zbrush UI by Konstantin Karazhey
Enhance your sculpting workflow with Zbrush UI by Konstantin. Don’t forget to support his incredible work by liking and following his ArtStation profile. A heartfelt thanks to Konstantin for sharing this Quick Tip with us.
To speed up the sculpting process we need quick access to brushes and the most used functions in Zbrush.
— Konstantin Karazhey
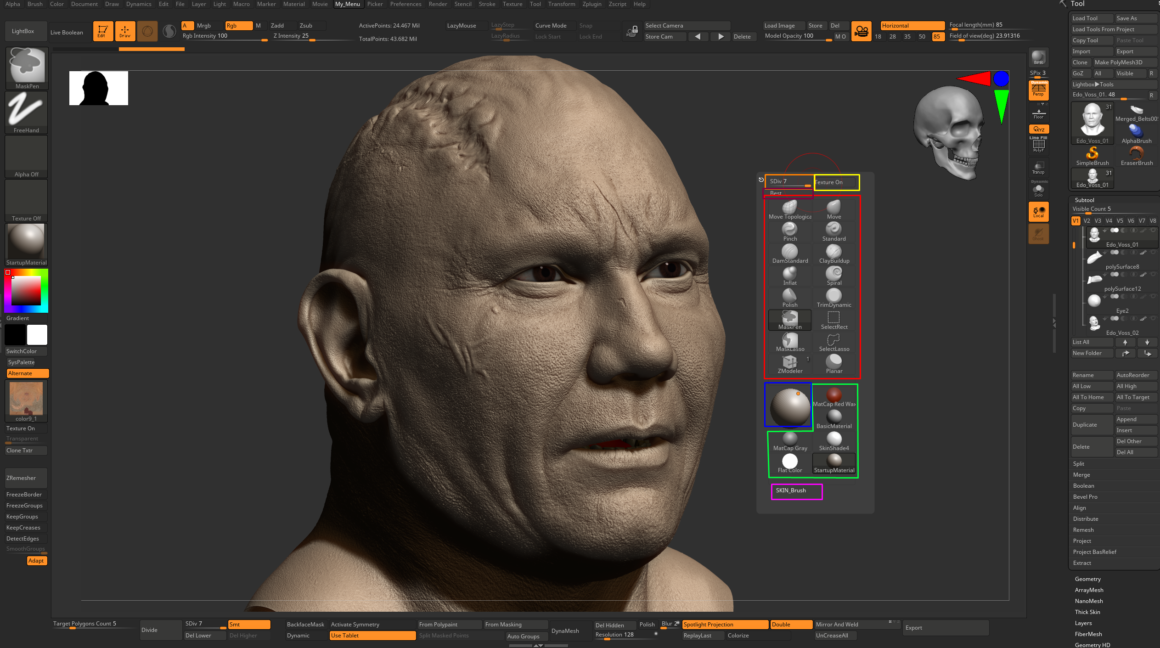
1. Brushes and MatCap
Hi all. I want to share some tricks that will help optimize your sculpting process.
I tried to remove everything unnecessary and make free up more space for the viewport
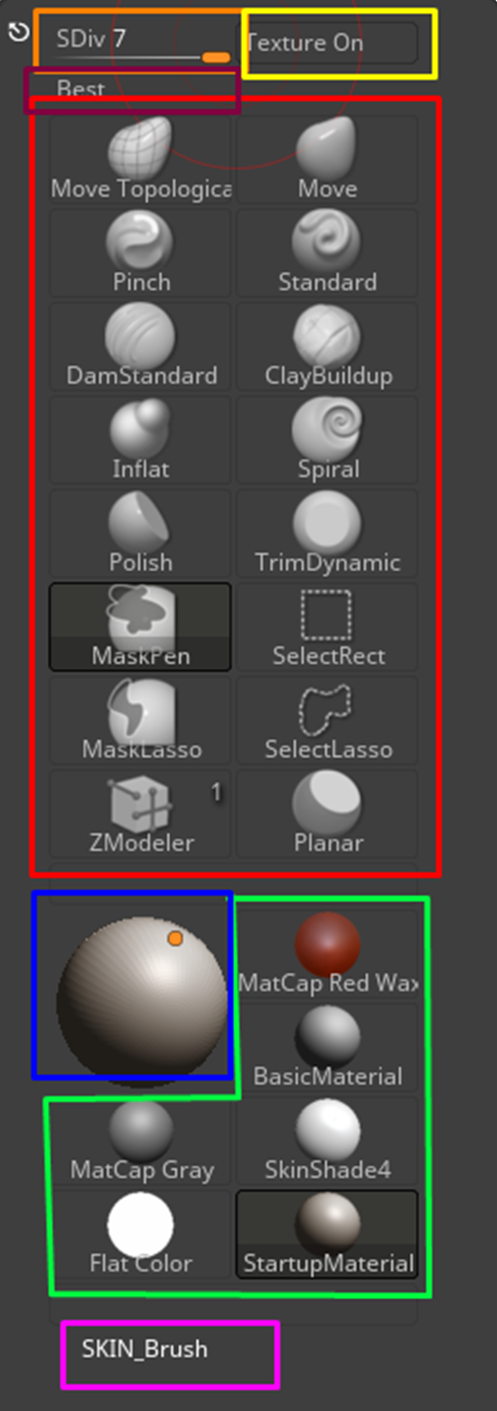
I created a personal small User Interface that opens when you press caps lock, where I collected all the brushes I needed, which I use as often as possible, as well as MatCap Materials and Standard Materials, the scope of Light Placement, Subdivision levels, activation textures, Fast Better Rendering, and a separate section on Skin Brushes.
2. Spotlight Mode UI
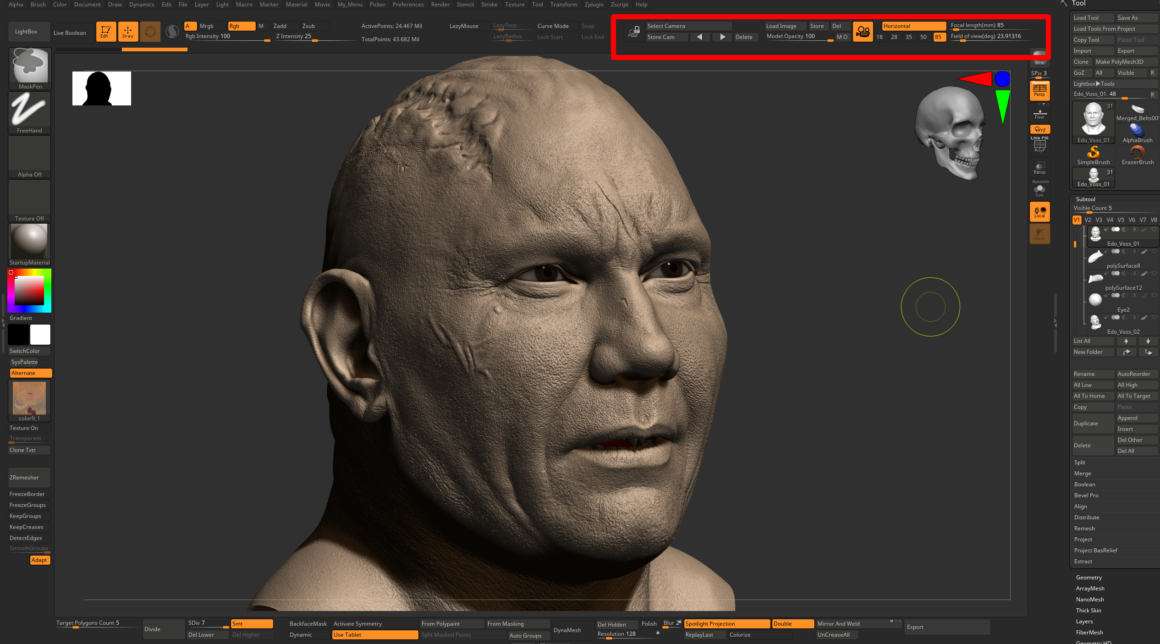
According to the general interface, I configured the top column mostly for the Spotlight Mode camera. Since all my works are likeness portraits, I always work with the spotlight tool and to fix the camera according to the reference. I use these settings:

3. Exporting options
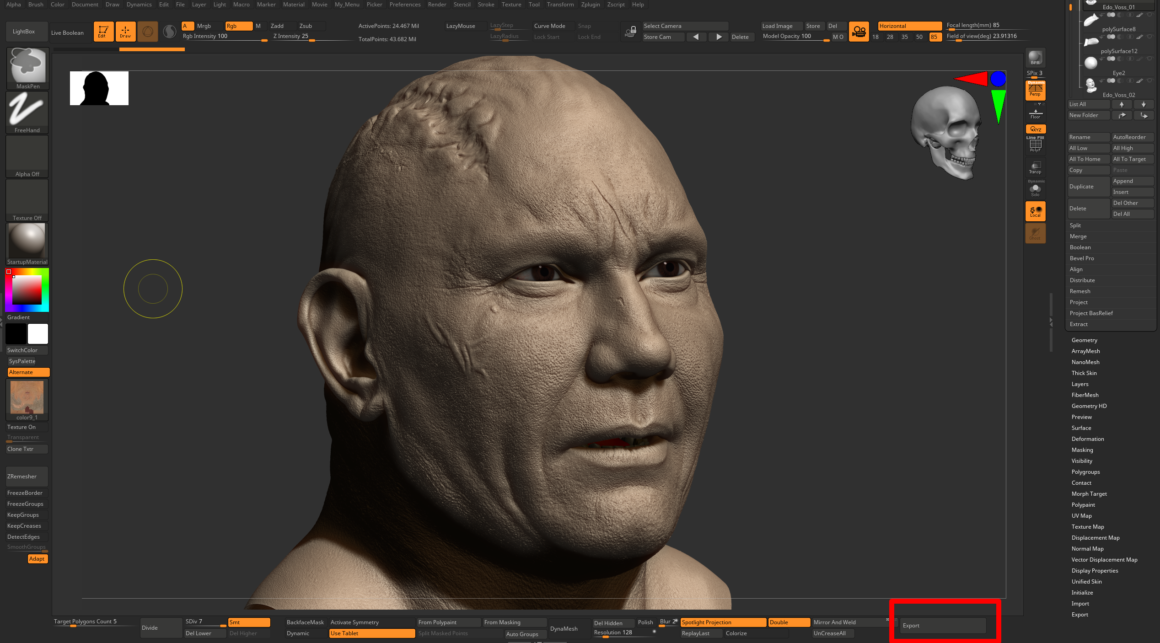
Also highlight the quick option for Exporting fbx, since I often need to upload the result, this option helps me optimize time.

4. Startup Material setting
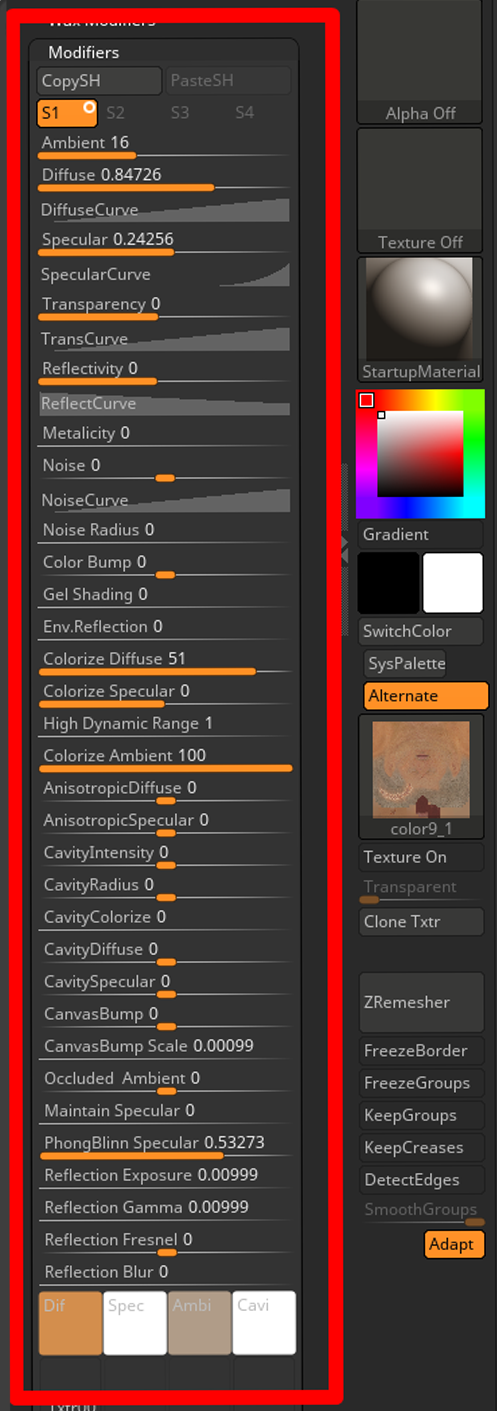
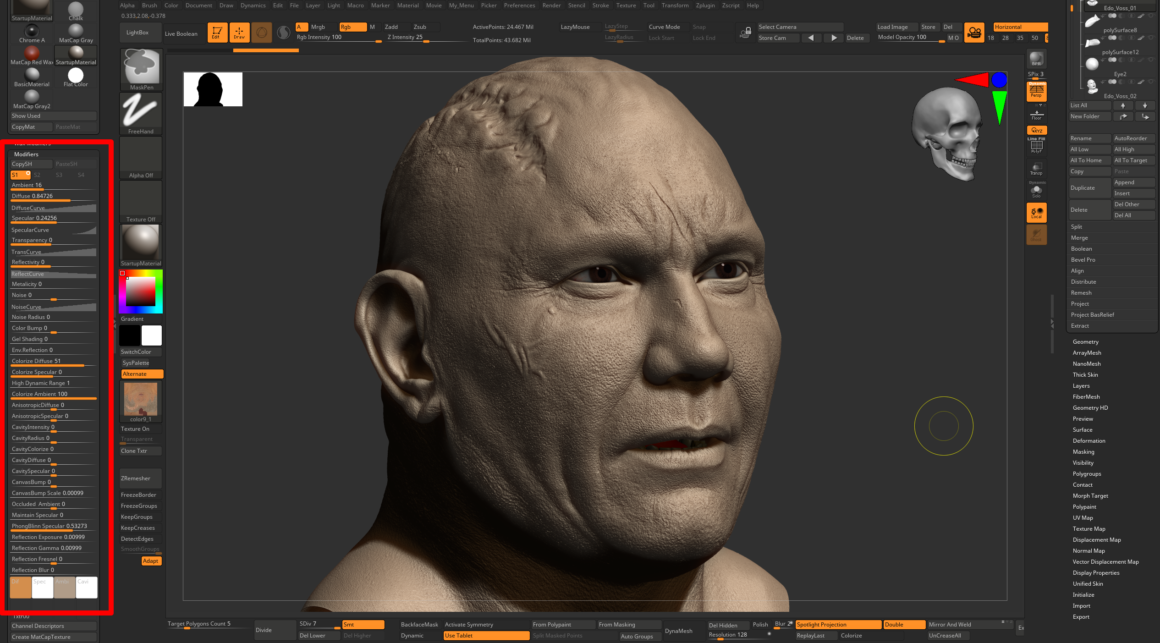
Also want to highlight my Startup Material.
I try to use only this Standard Material for the sculpting process. It reminds me of “clay”. Adjusted the Startup Material to the maximum for myself, it displays a little glare, has a little subsurface scattering.
Explore all our Quick Tip blogs.
Join our community & Get inspired by TOP artists:
Most popular RAW HEAD 3D SCANS

BSHARA HENRY
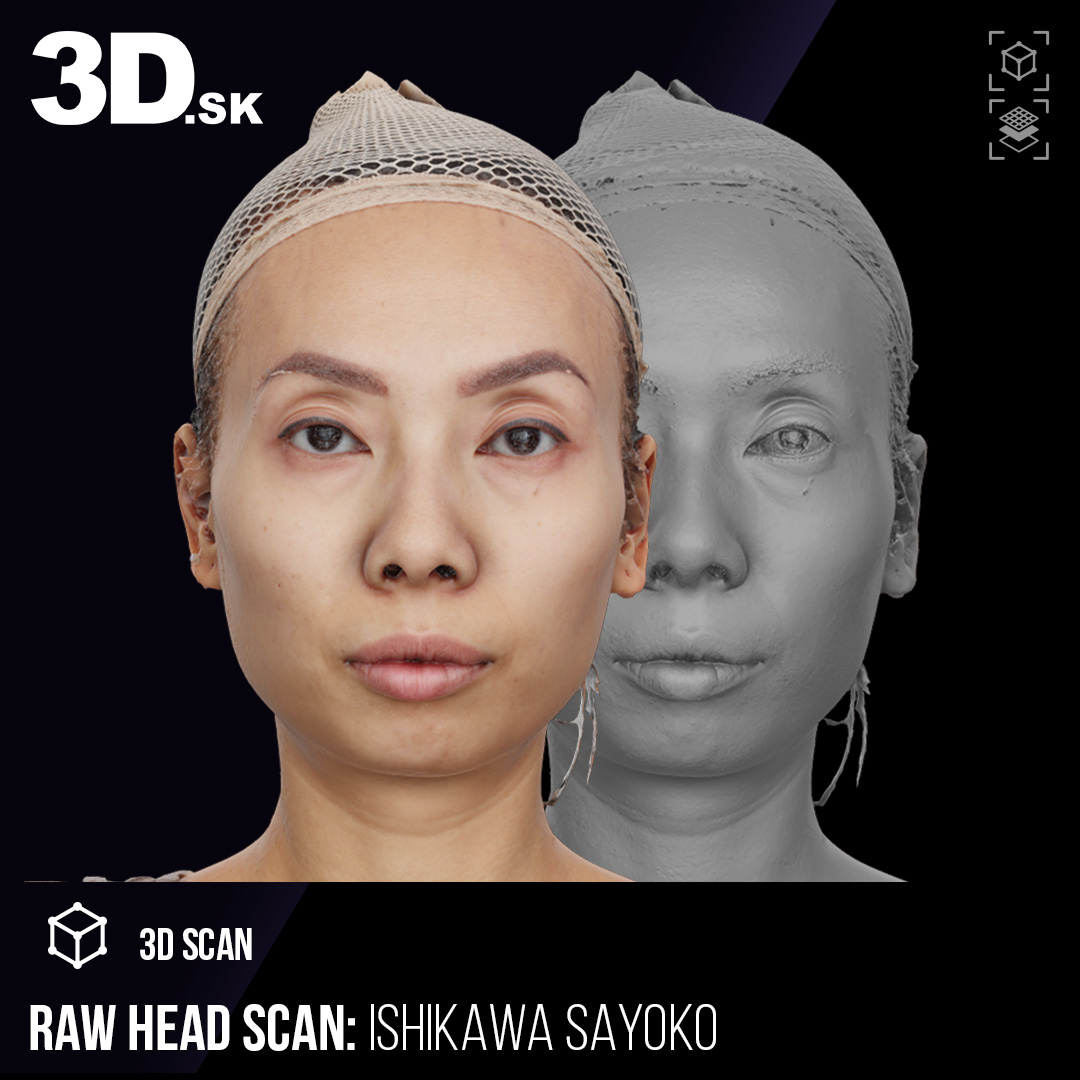
ISHIKAWA SAYOKO

DIMETRICE MOSS

QWANTEZ DANIEL

KAGA SUMI

ISLA COLE
GET INSPIRED WITH TOP ARTISTS


